Okta Authentication (SSO) Guide
Okta OAuth2 allows Agents and Users to sign into the helpdesk with their Okta account. Please note, you must have the OAuth2 Plugin installed and enabled beforehand.
Configuration
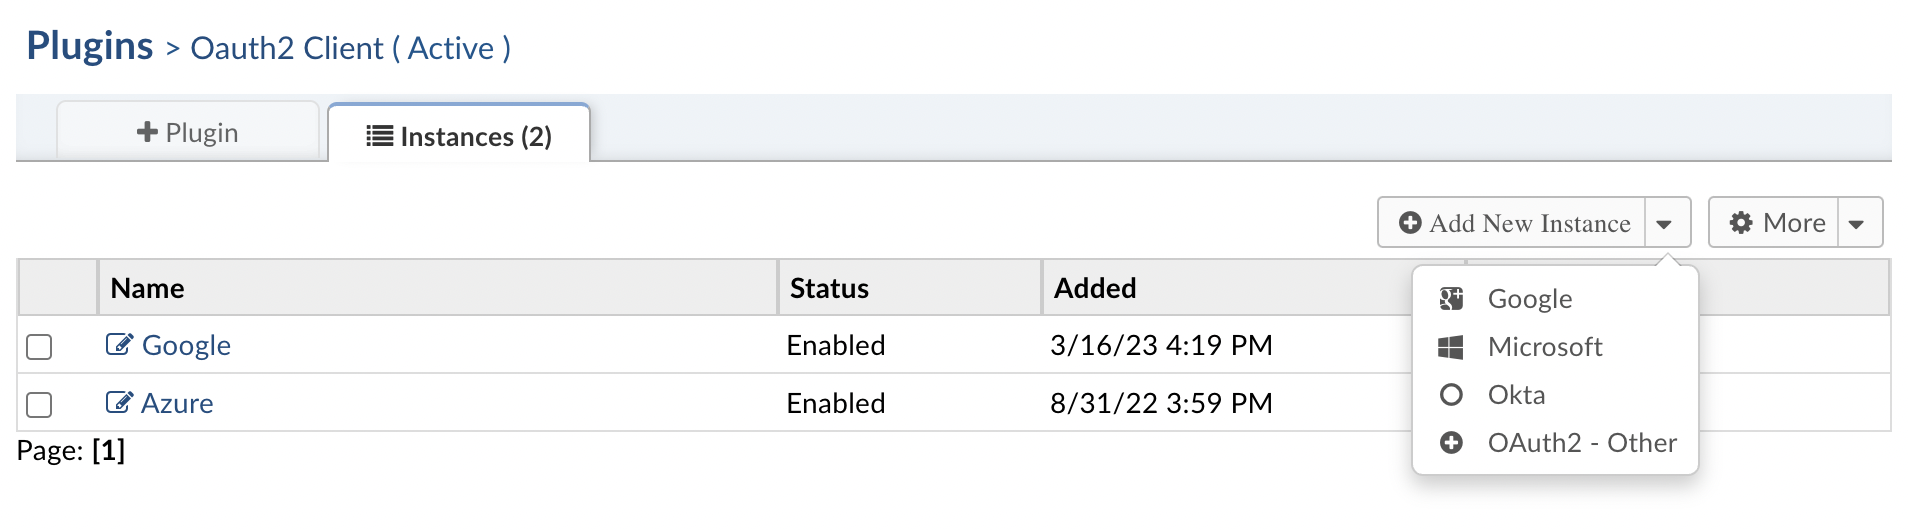
Choose ‘Okta’ in the ‘Add New Instance’ menu
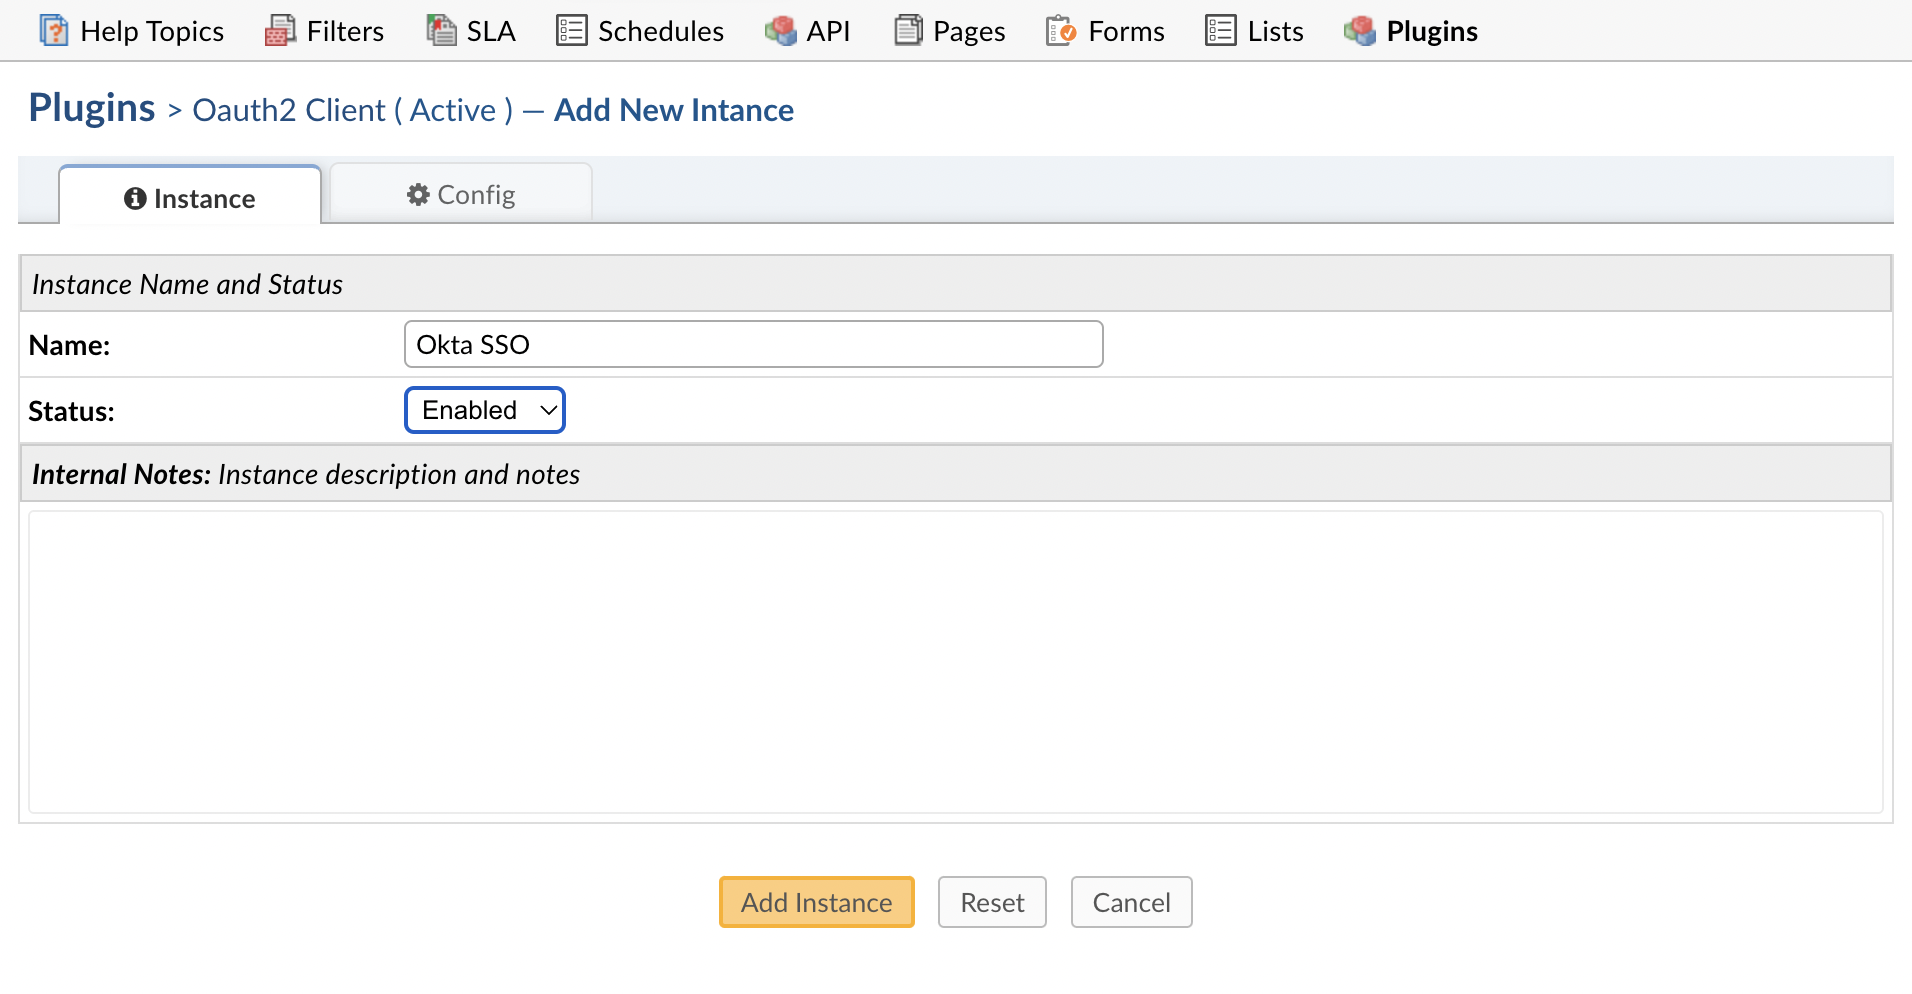
Give the instance a name that lets you know which provider is selected and select ‘Enabled’ for the status.
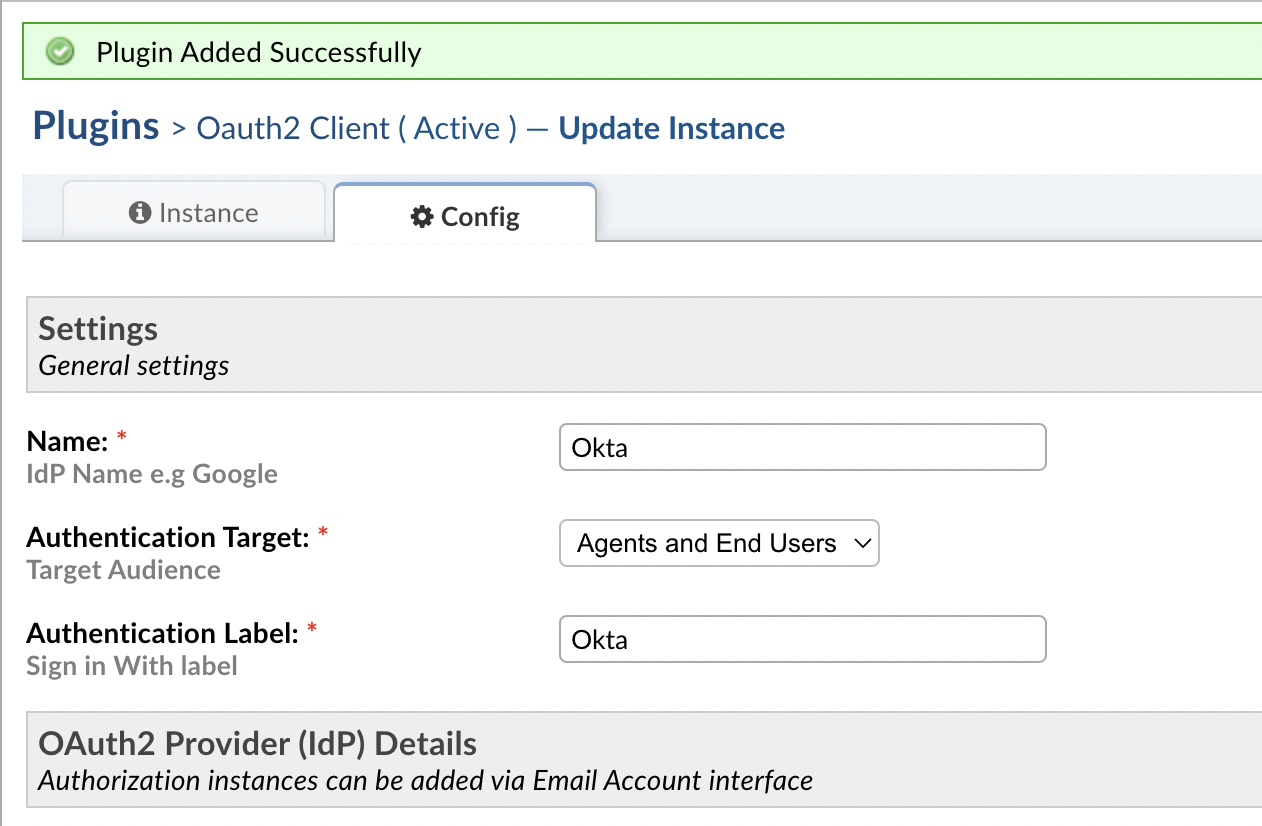
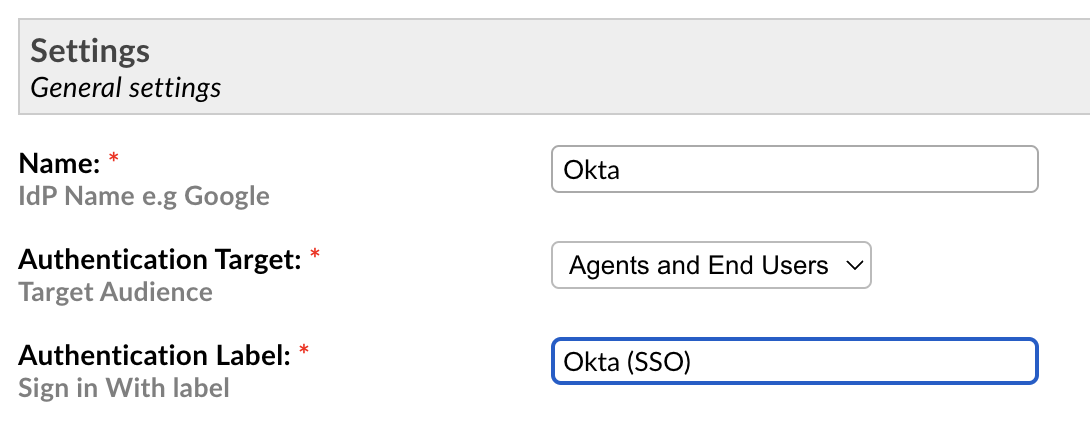
Go to the ‘Config’ tab to set up this provider. Some of the default information will be autofilled.
Note: The ‘Authentication Label’ field is the text that will be displayed to the User or Agent when they sign into the helpdesk.
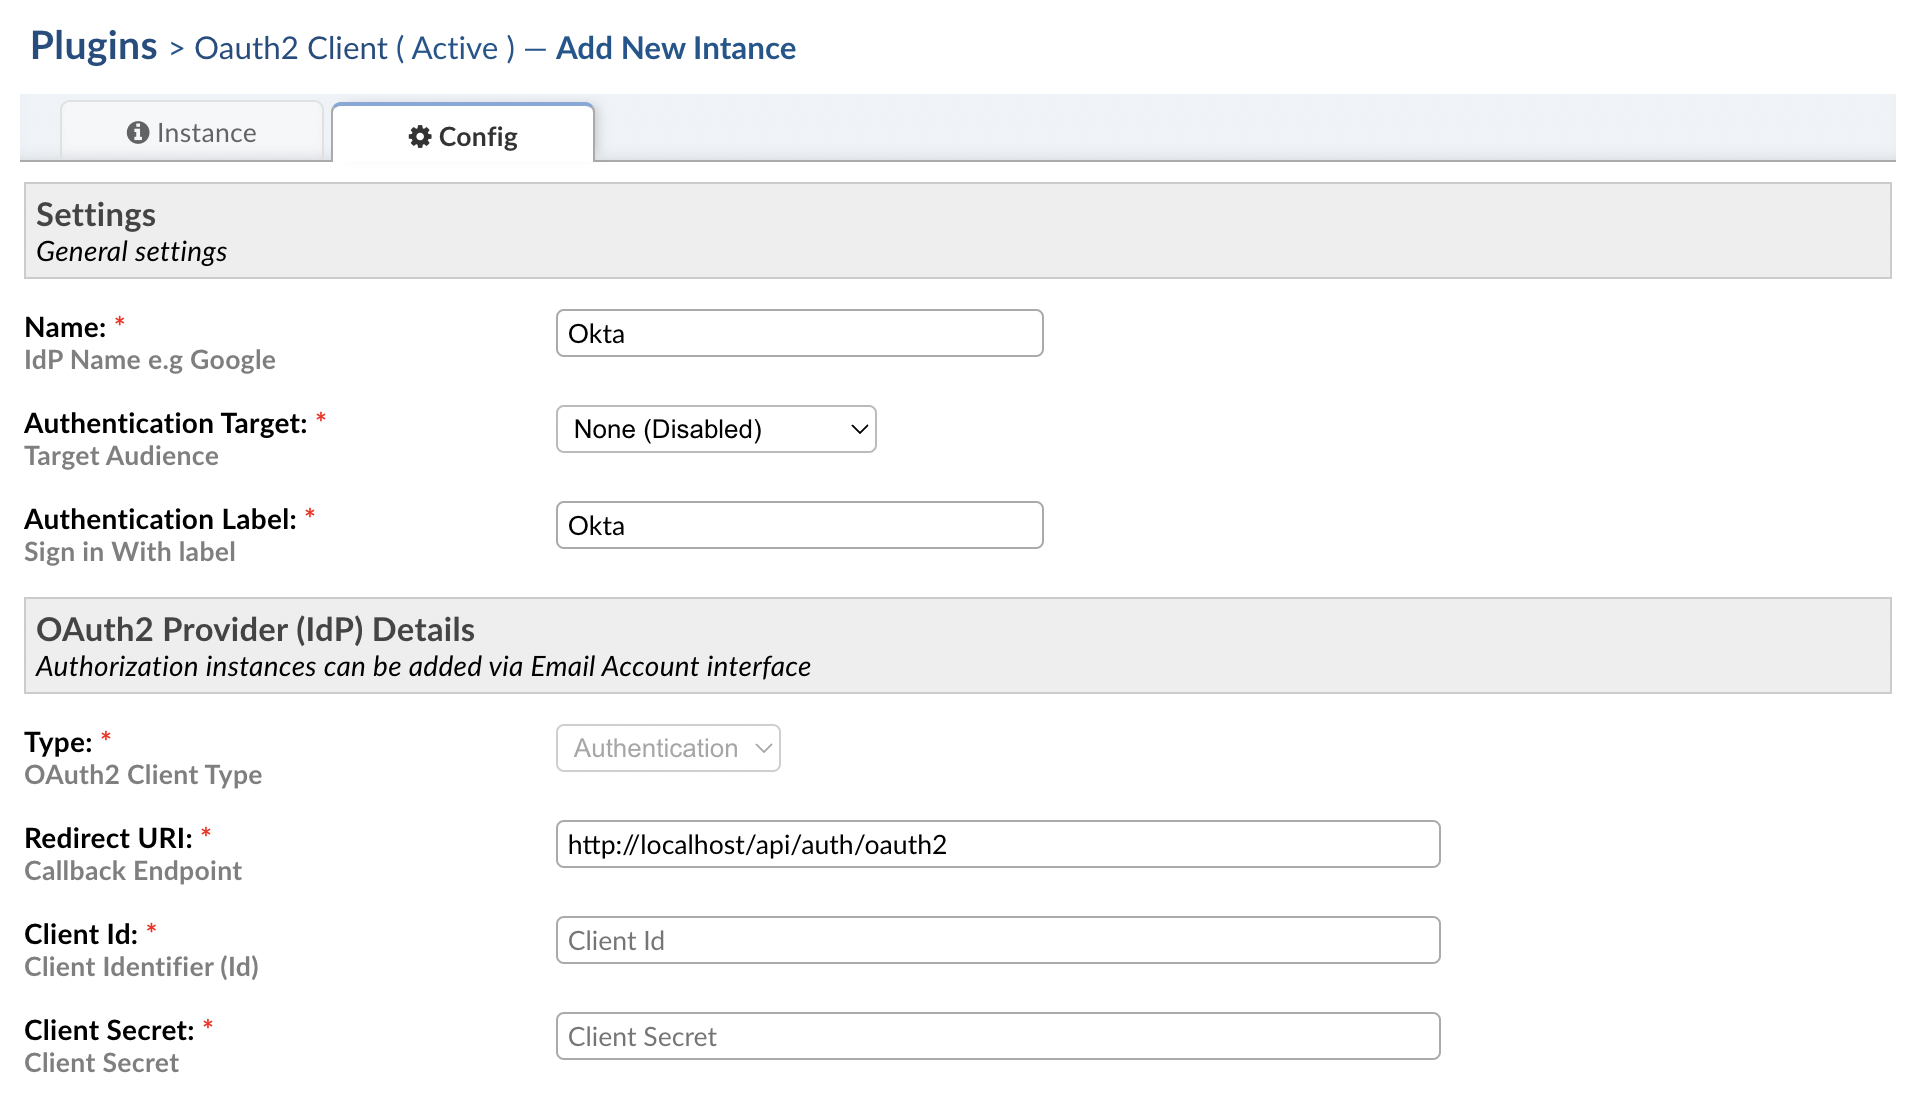
Choose an Authentication Target to specify who should be able to use this provider.

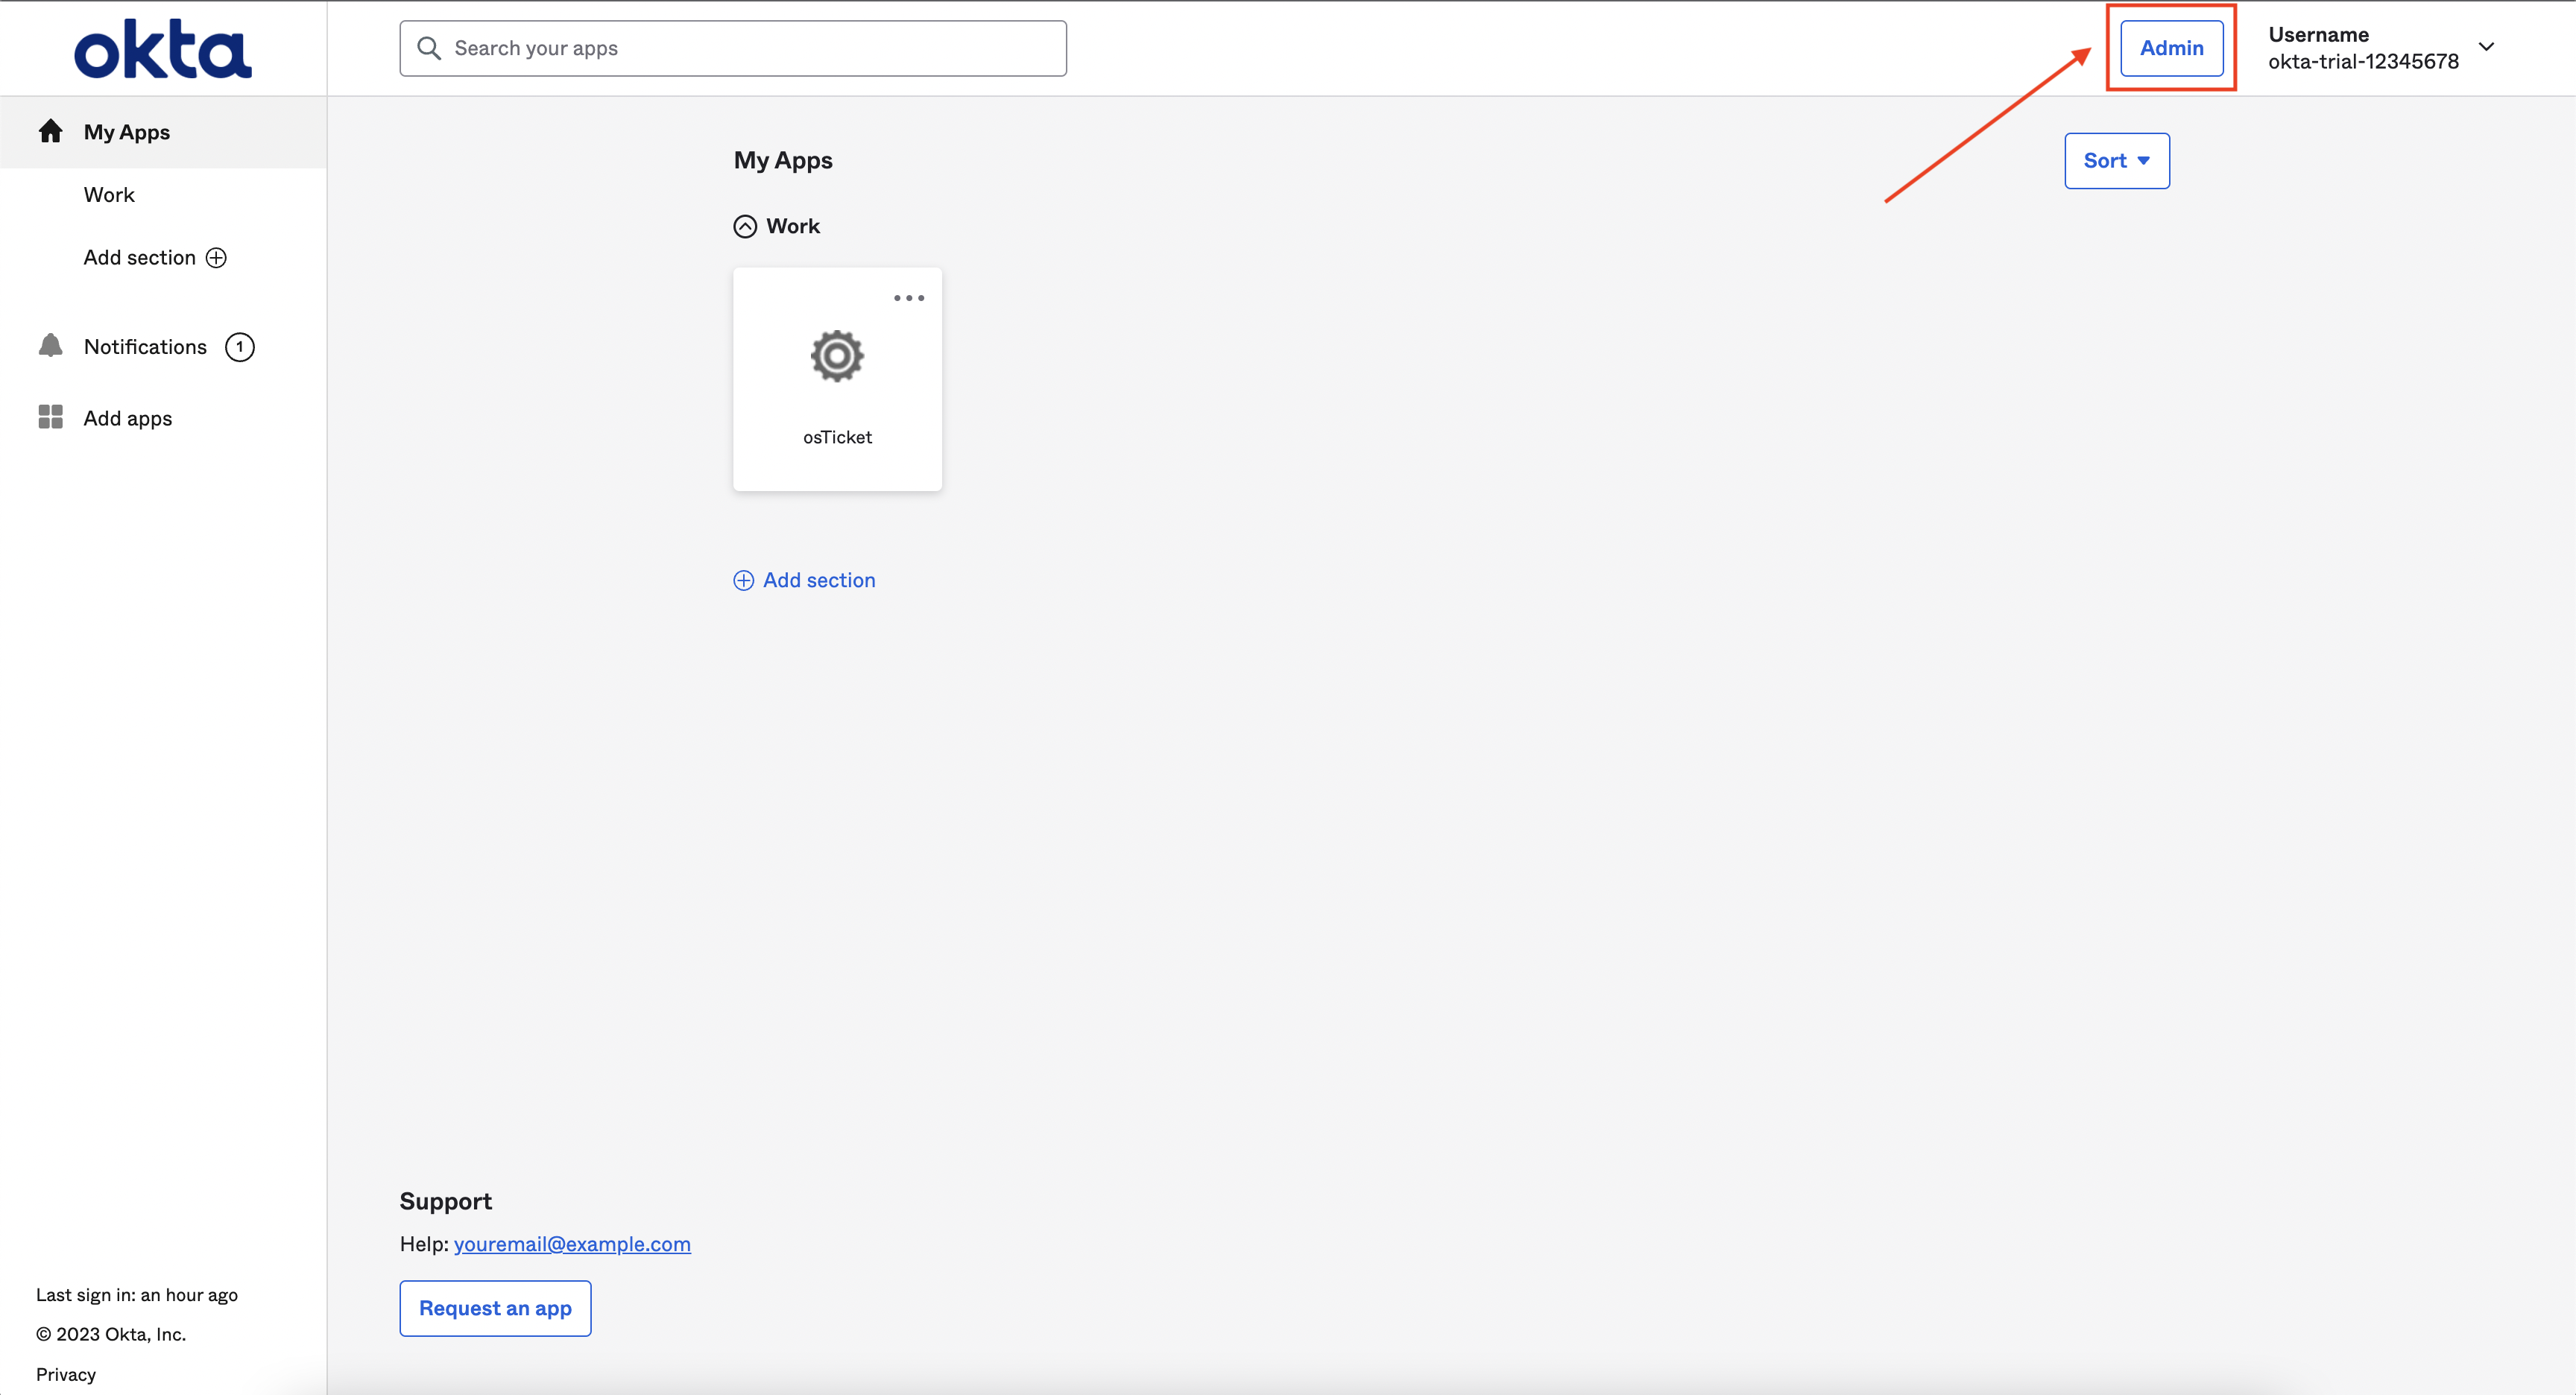
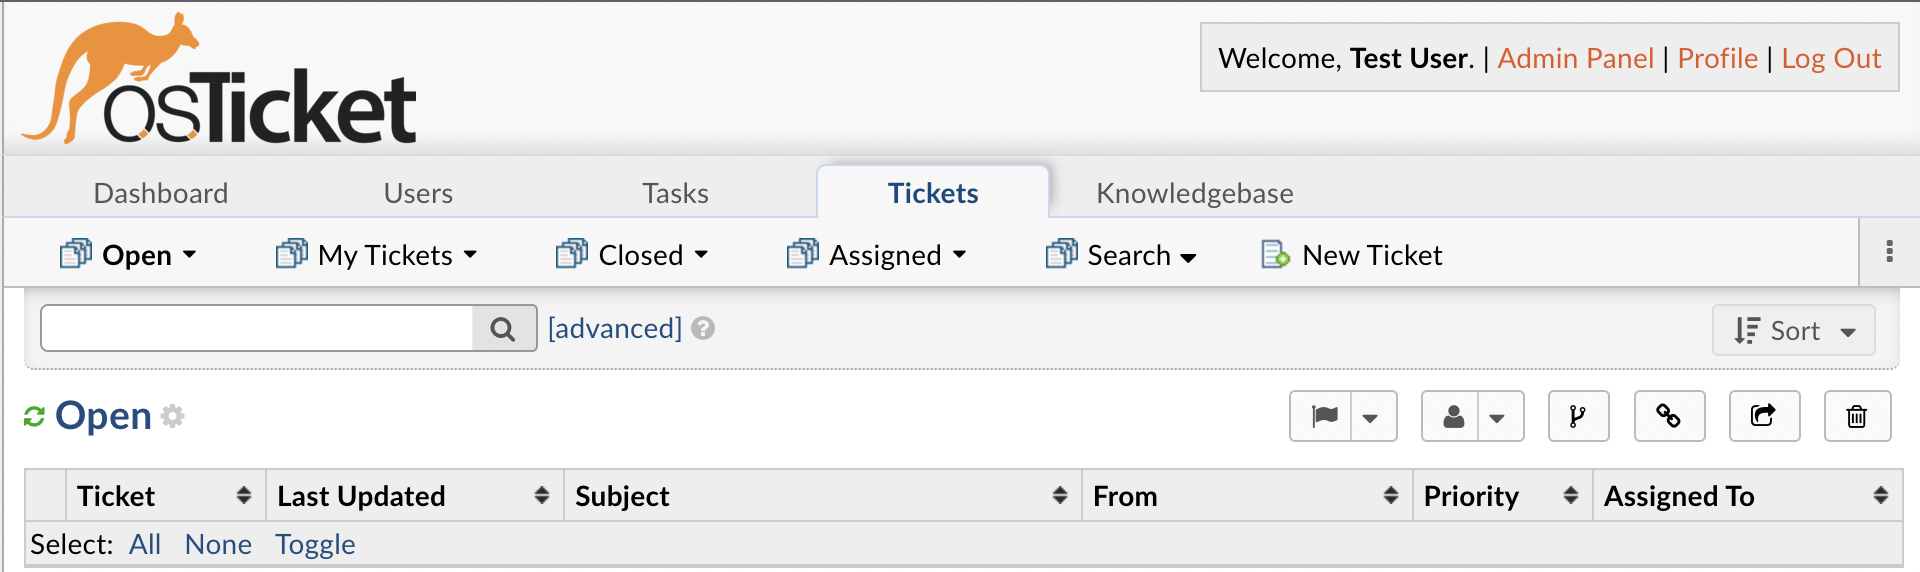
Now you need to set up a project using the Okta Admin Console. To visit the Admin Console simply login to Okta and click the button labeled Admin on the top bar next to your username.
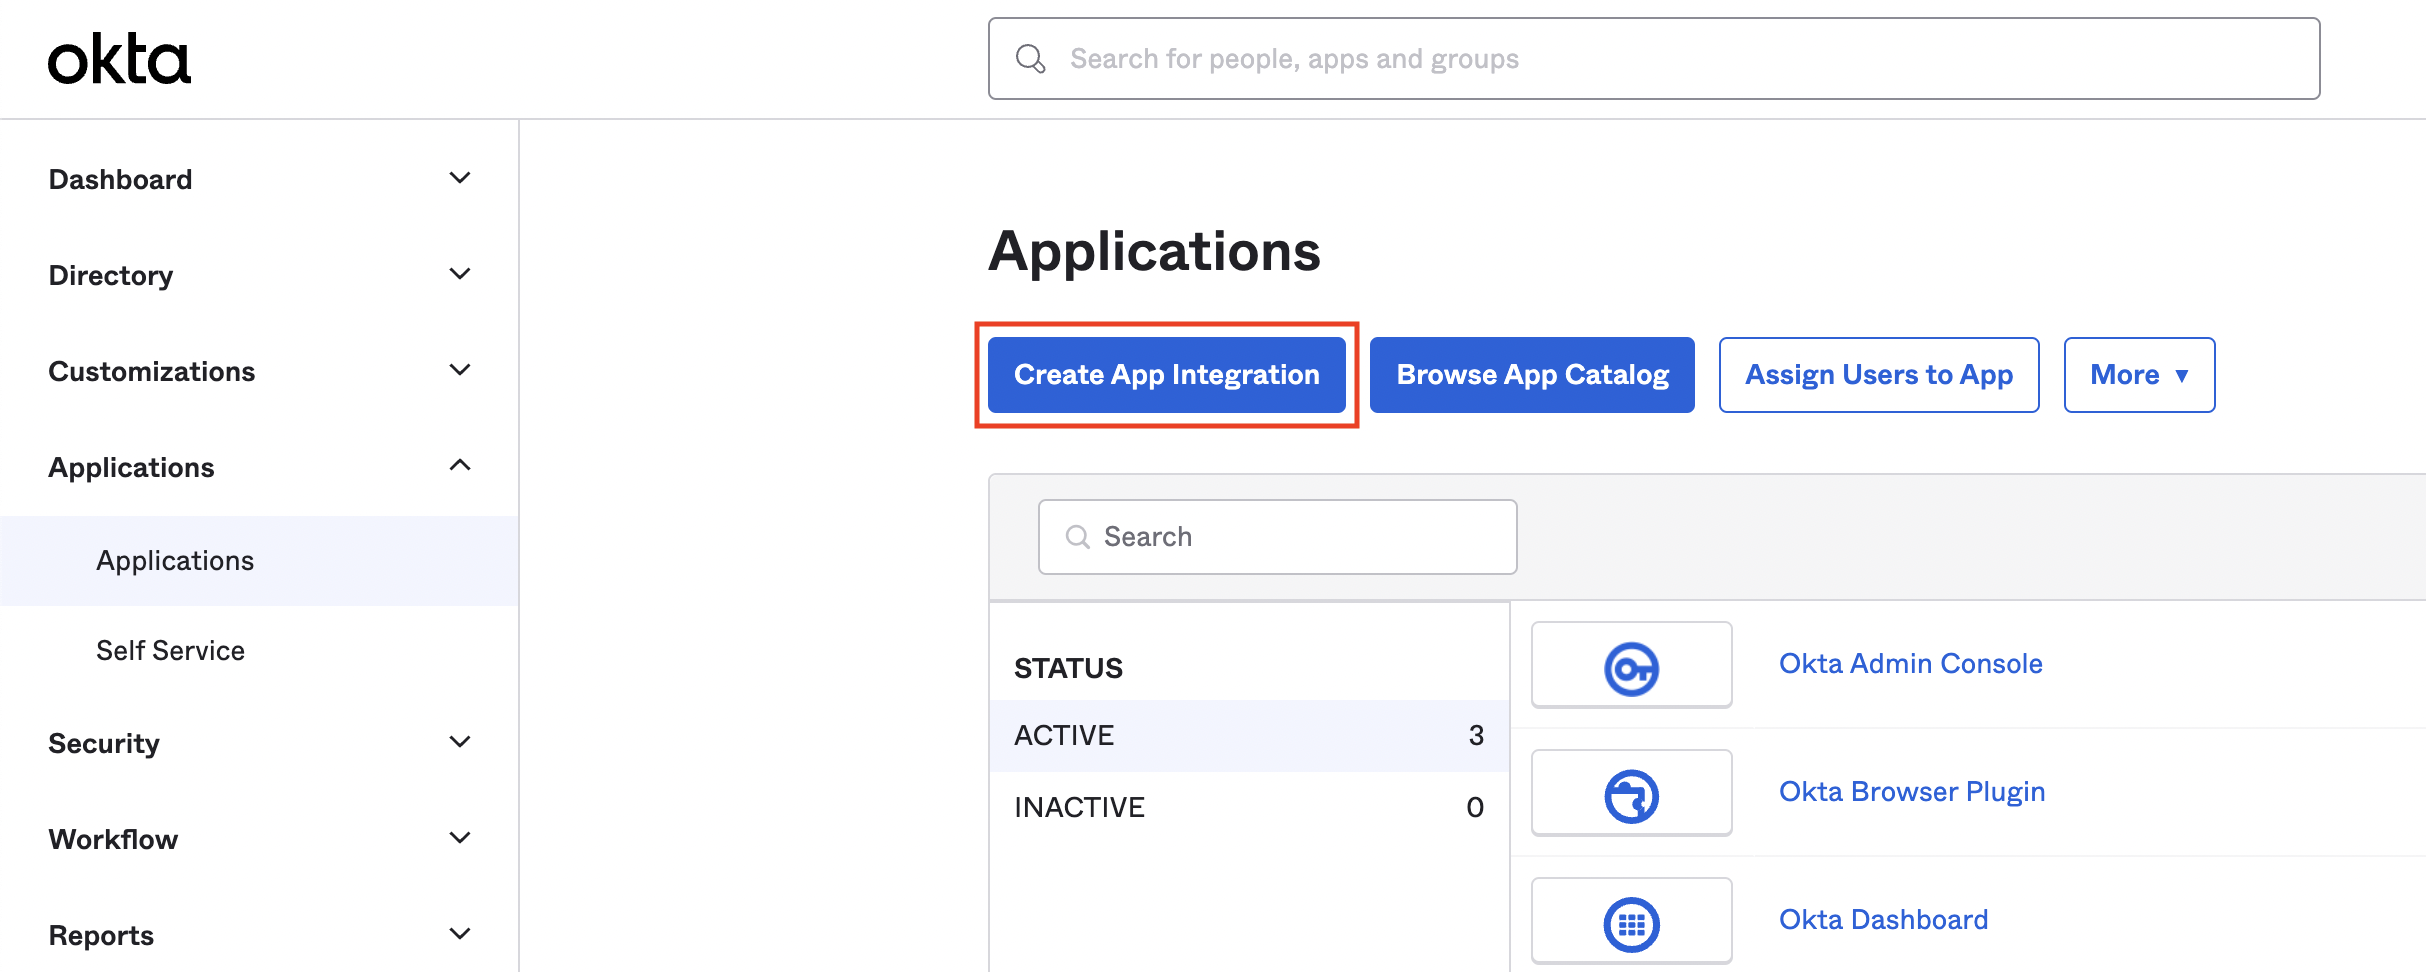
Once you are in the console expand the Applications section, click Applications, and click ‘Create App Integration’ to get started.
Note: If you already have a project set up for your Okta account, its name will be displayed here.
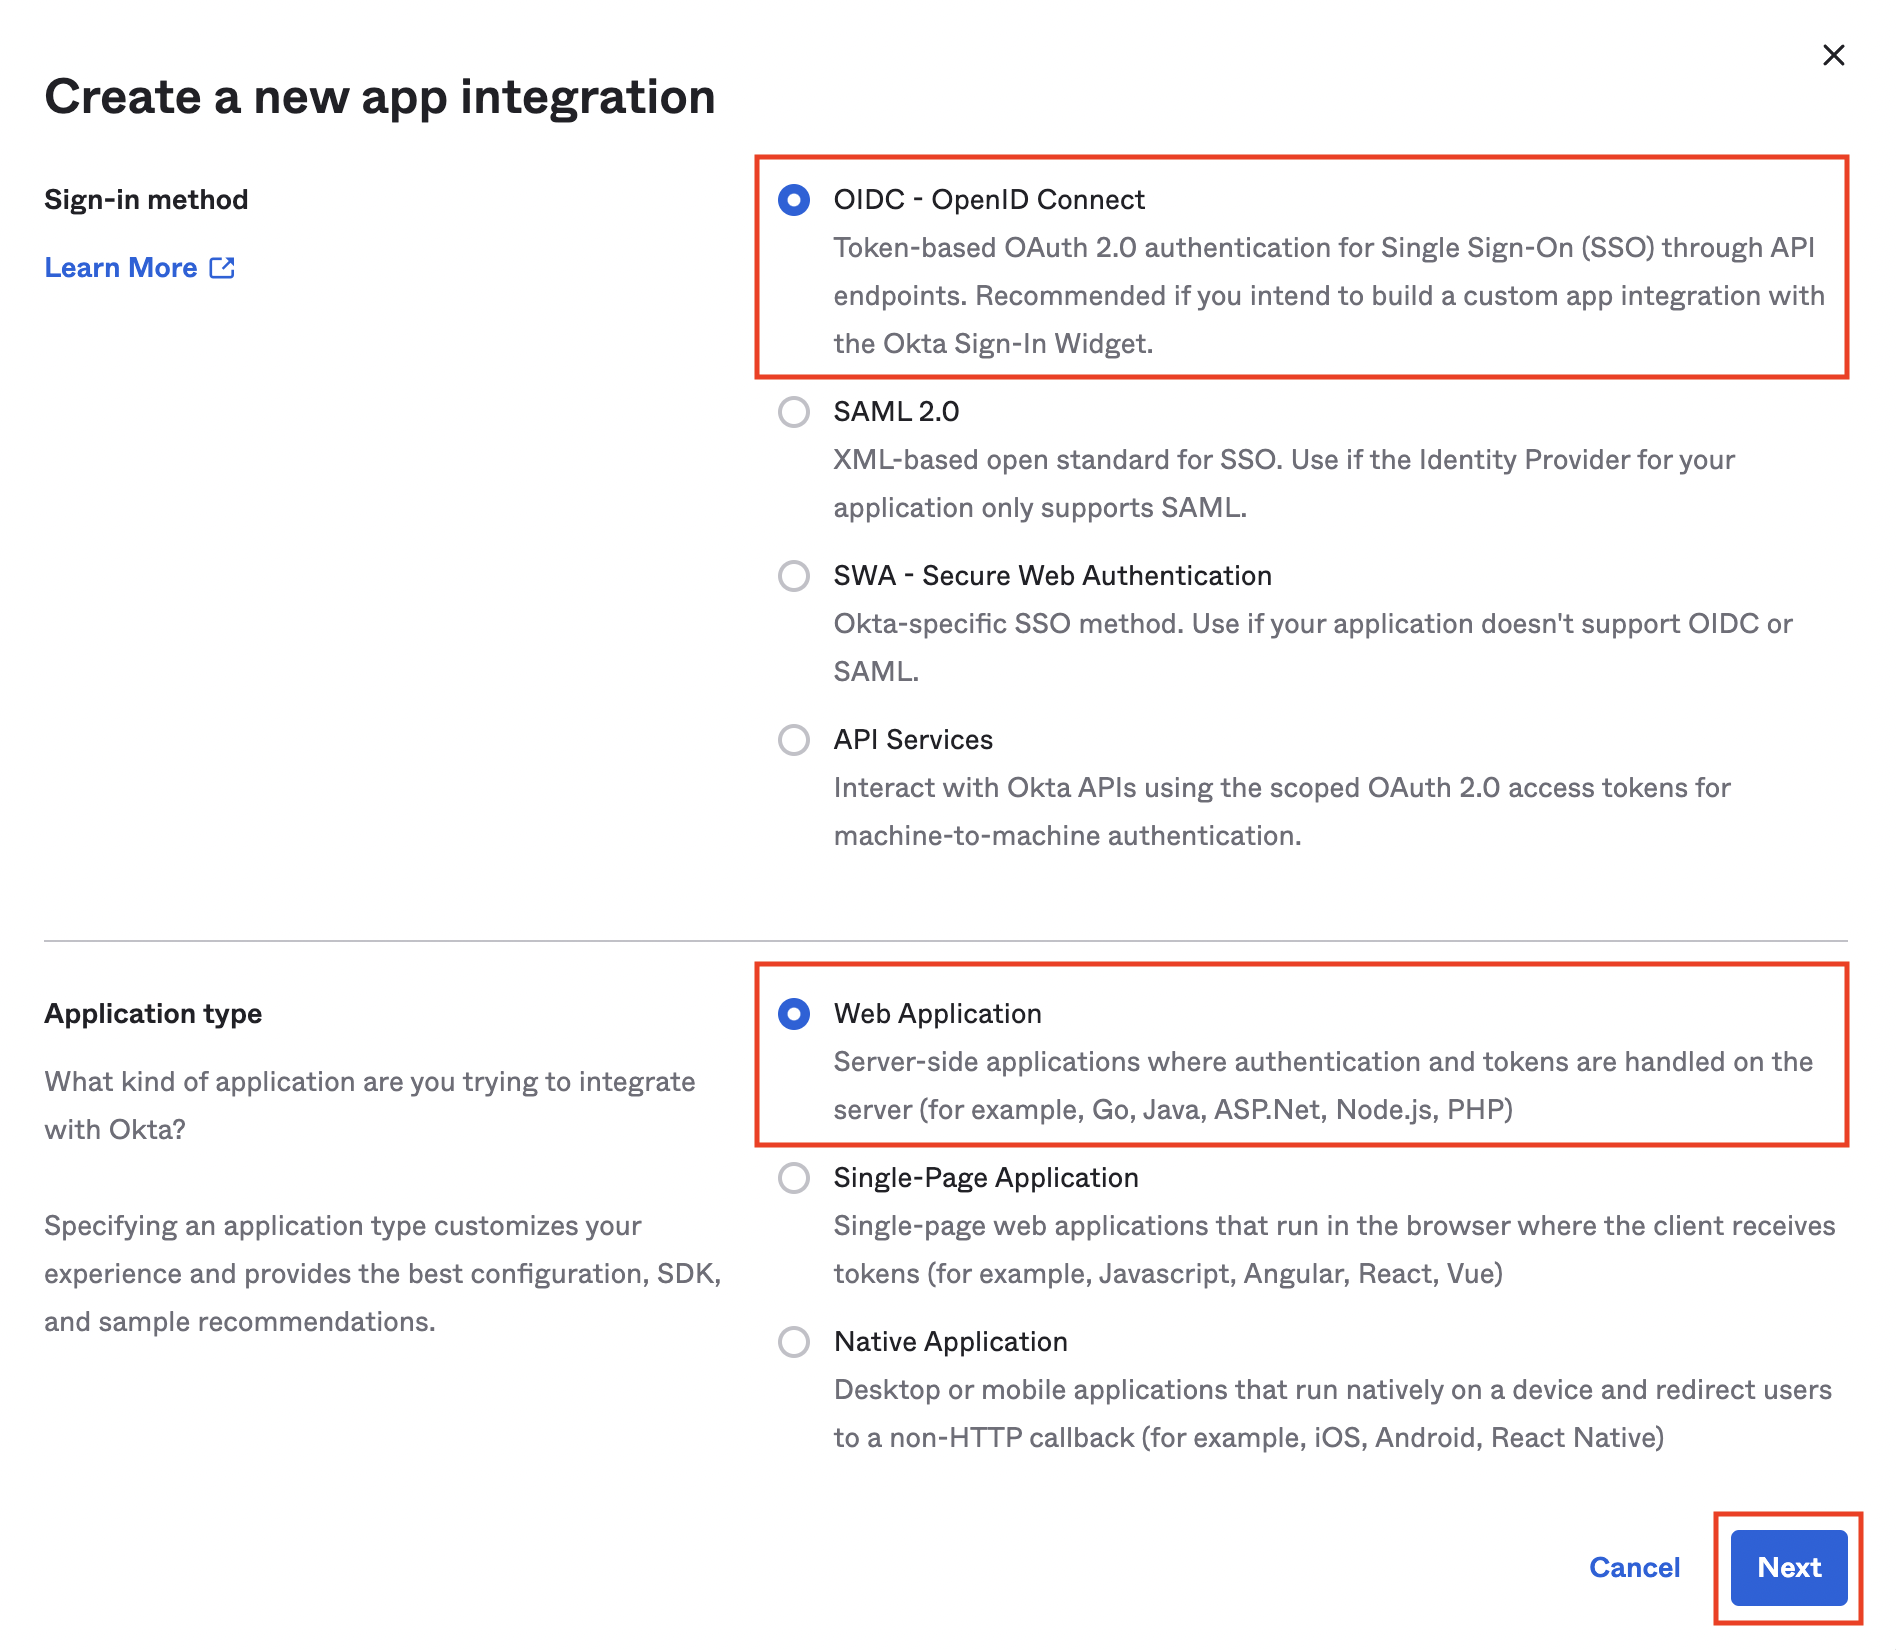
Click ‘OIDC - OpenID Conect’, ‘Web Application’, and ‘Next’ in the modal:
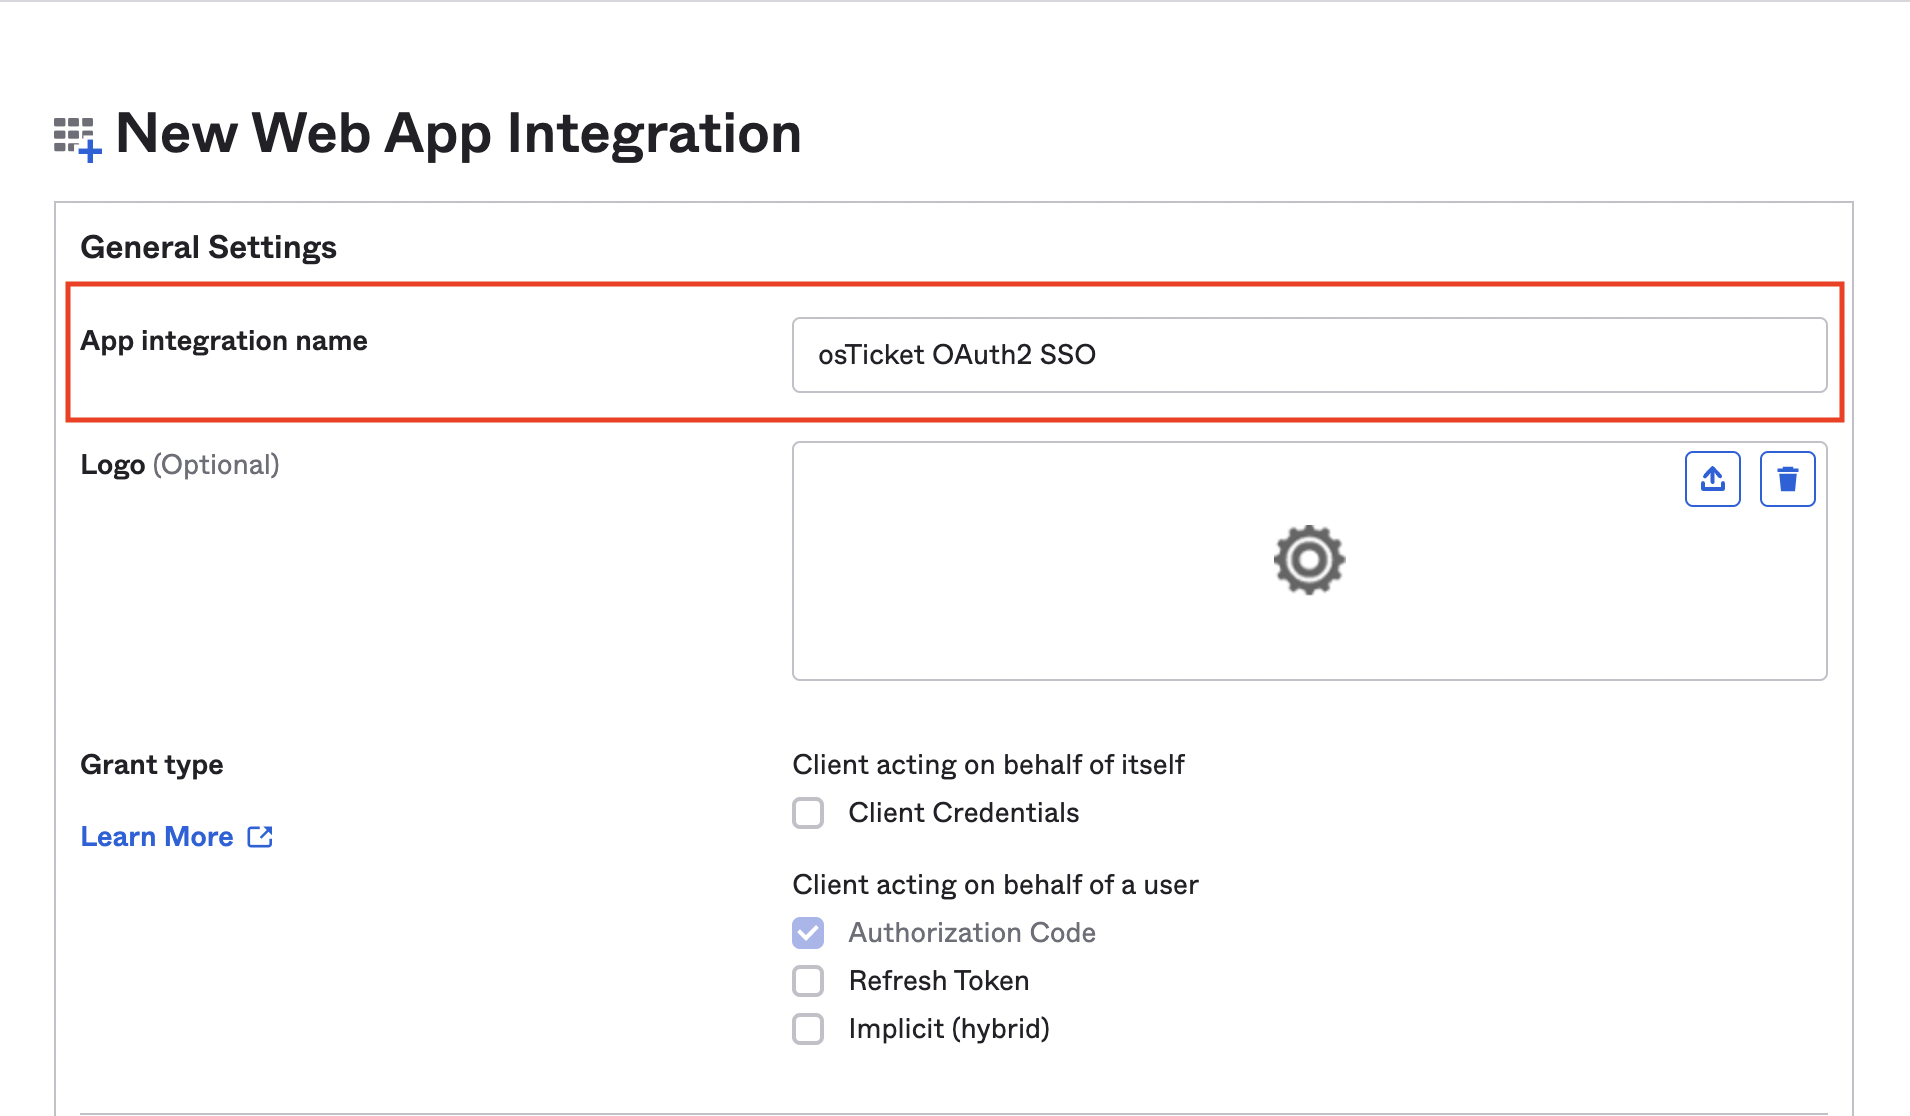
Give the project a name in the ‘App Integration name’.
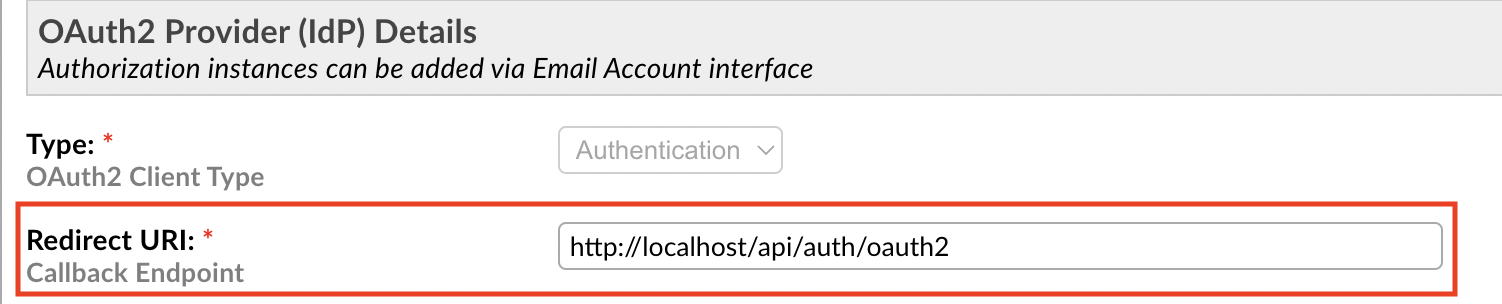
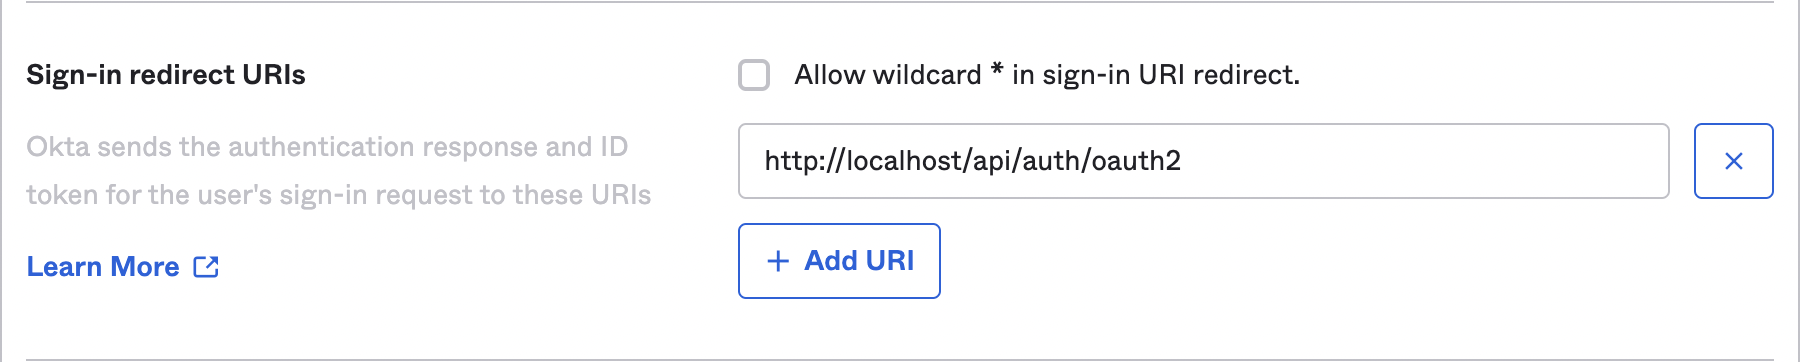
The ‘Sign-in redirect URI’ can be found in the plugin instance created in the helpdesk under the field labeled ‘Redirect URI’.
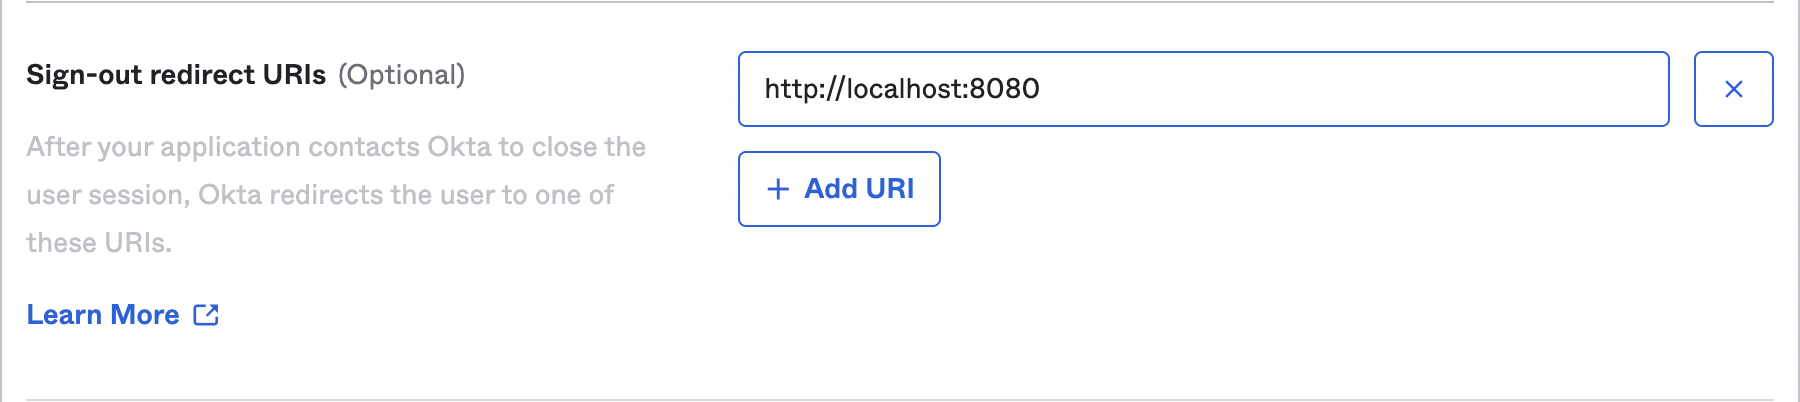
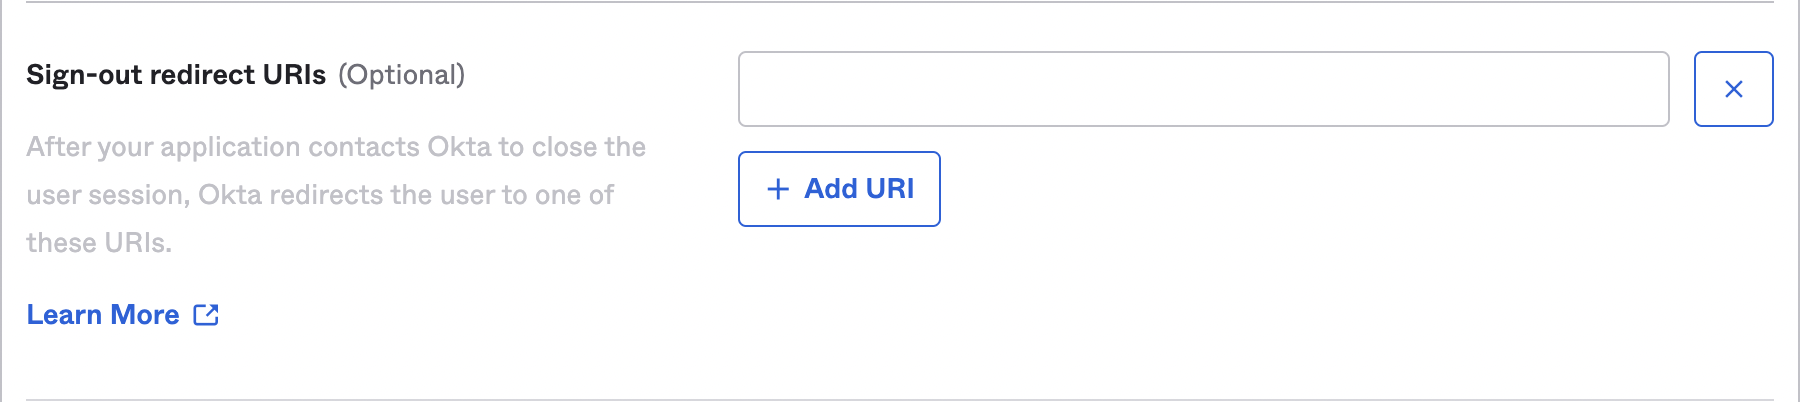
Completely remove the default value in the ‘Sign-out redirect URIs’ field (ie. make it blank).
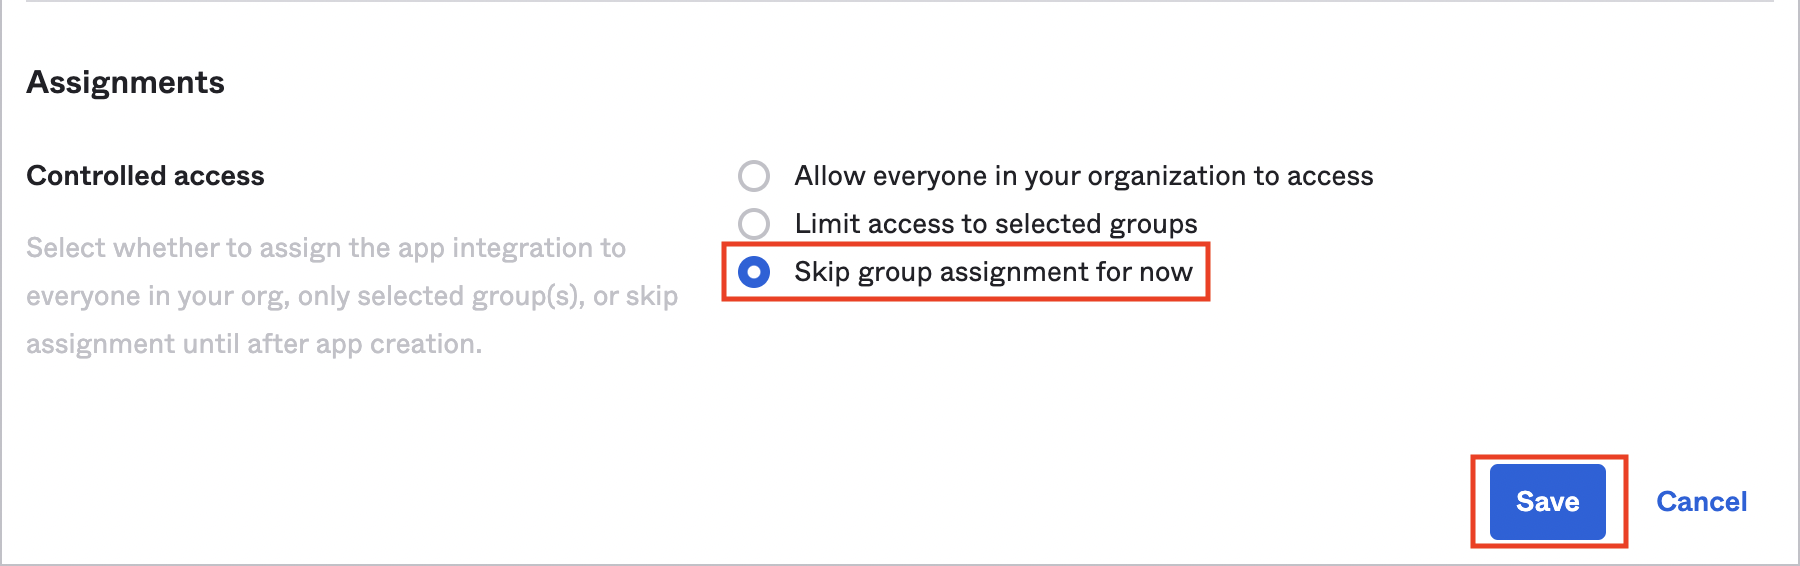
Configure ‘Assignments’ by selecting one of the options or configure it later by selecting ‘Skip group assignment for now’ and click ‘Save’.
Now you will see your Client ID and Client Secret
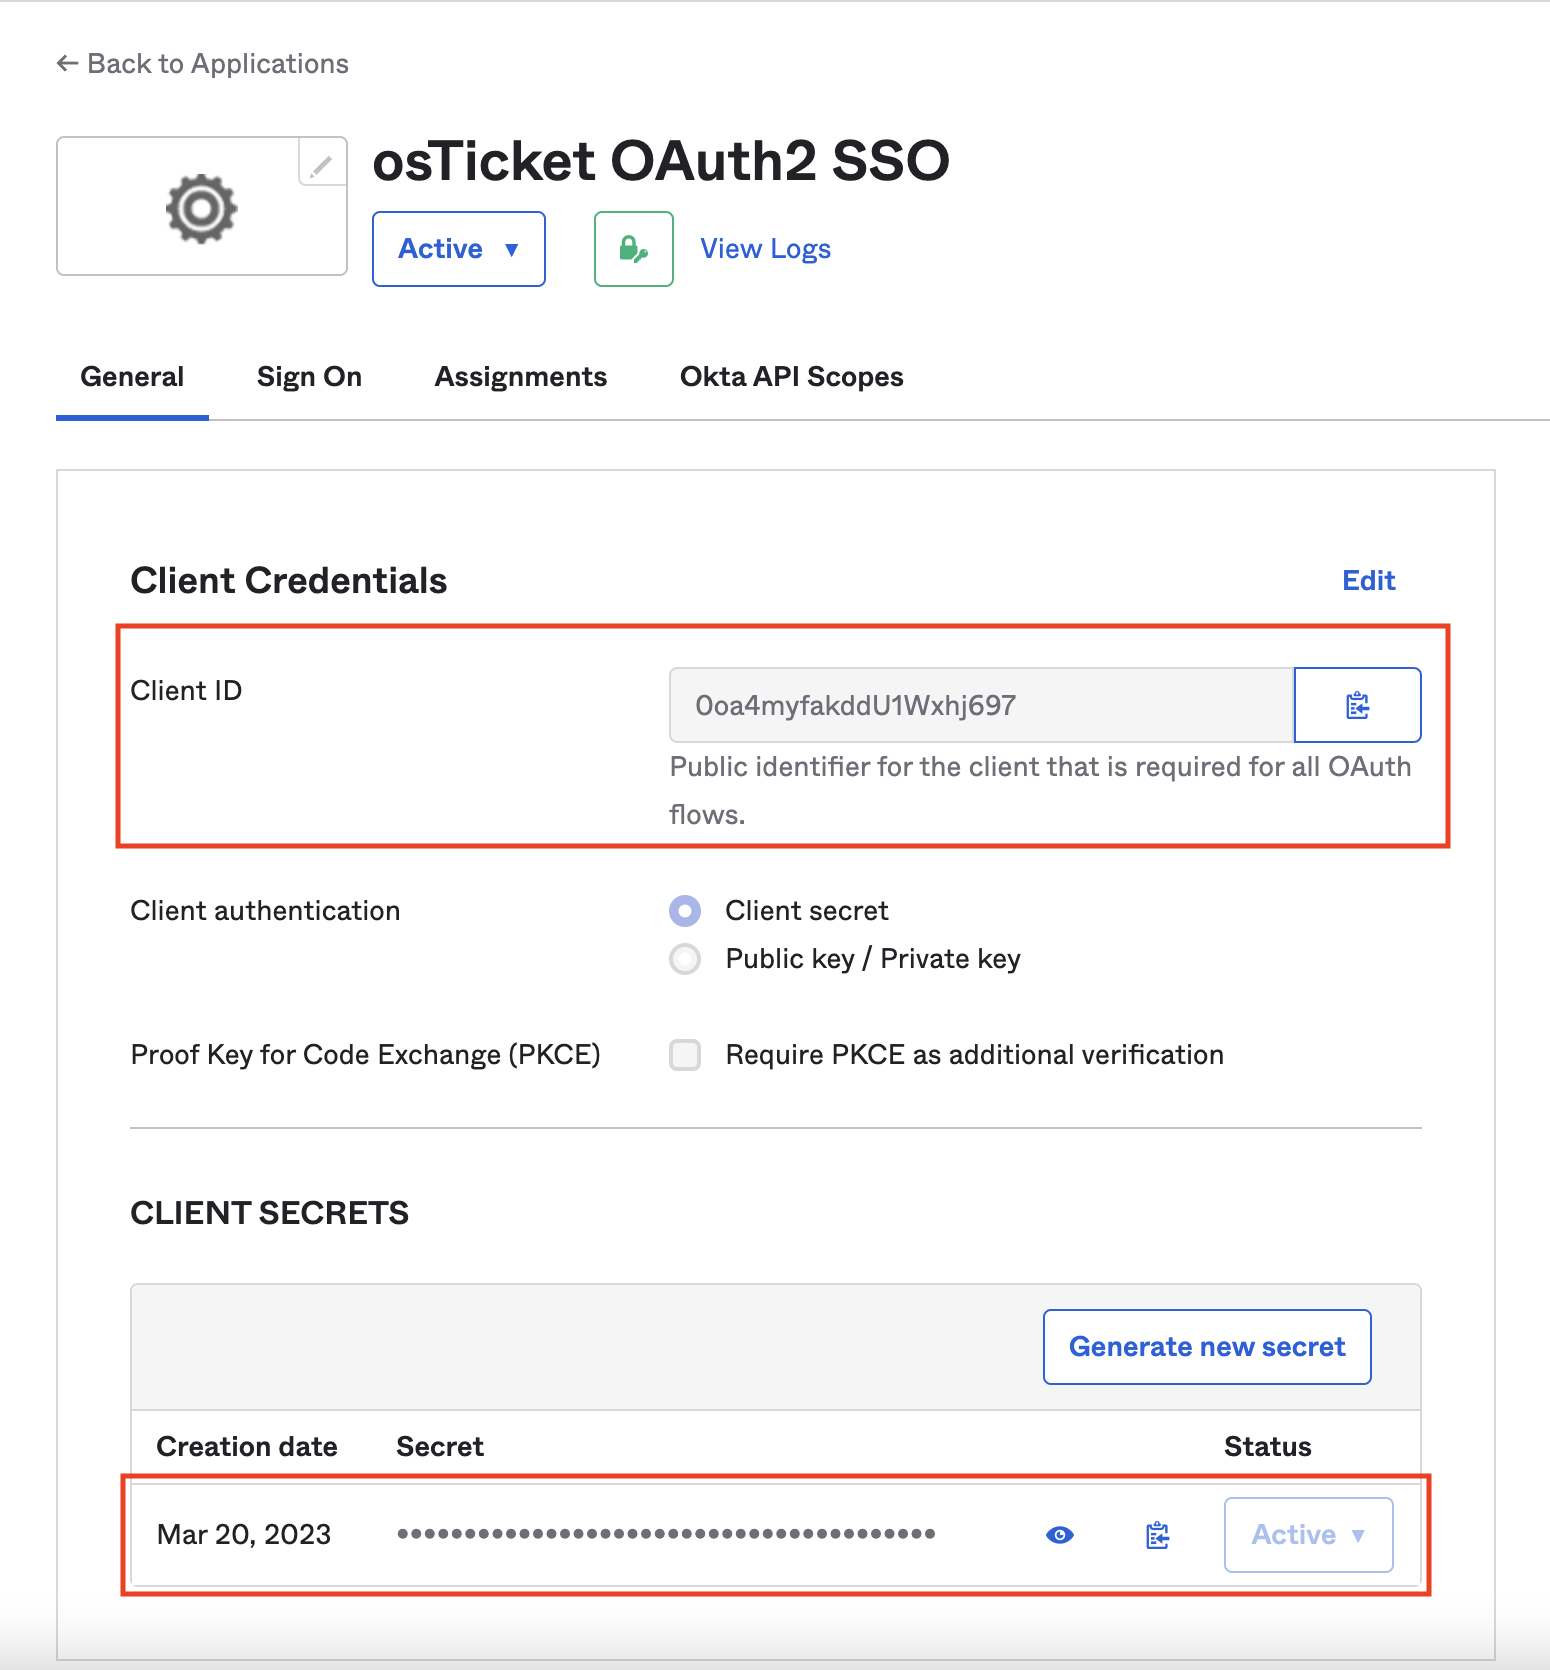
Copy the Client ID and Client Secret and paste them into the appropriate fields in the helpdesk Instance:
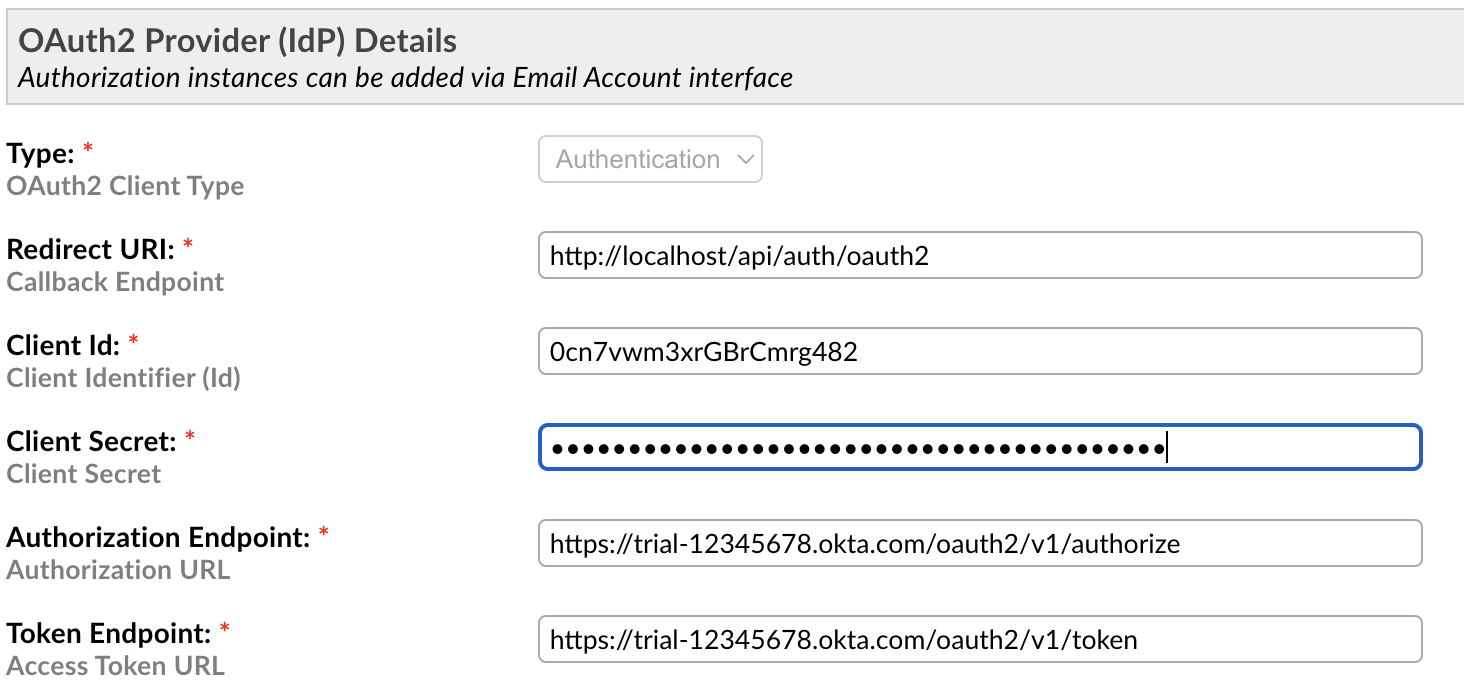
The remaining details are autofilled defaults that will need updating:
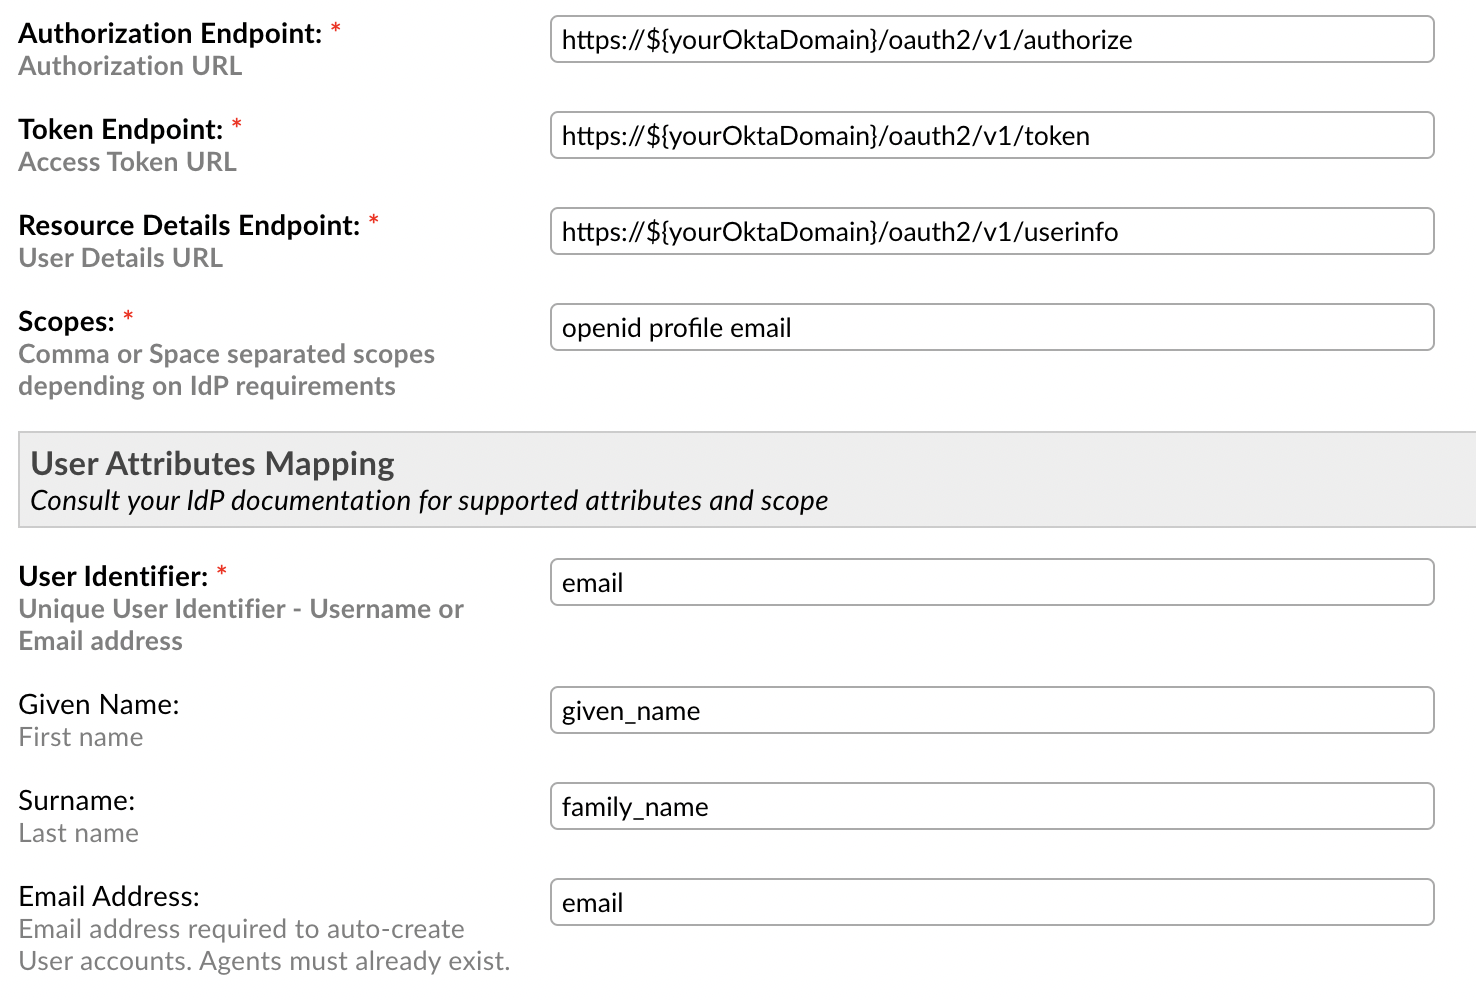
For ‘Authorization Endpoint’, ‘Token Endpoint’, and ‘Resource Details Endpoint’ you must replace the ${yourOktaDomain} with your actual Okta Domain. This can be found by logging into the Okta Admin Console, click your name/email in the top right, and copy the domain under your email address.
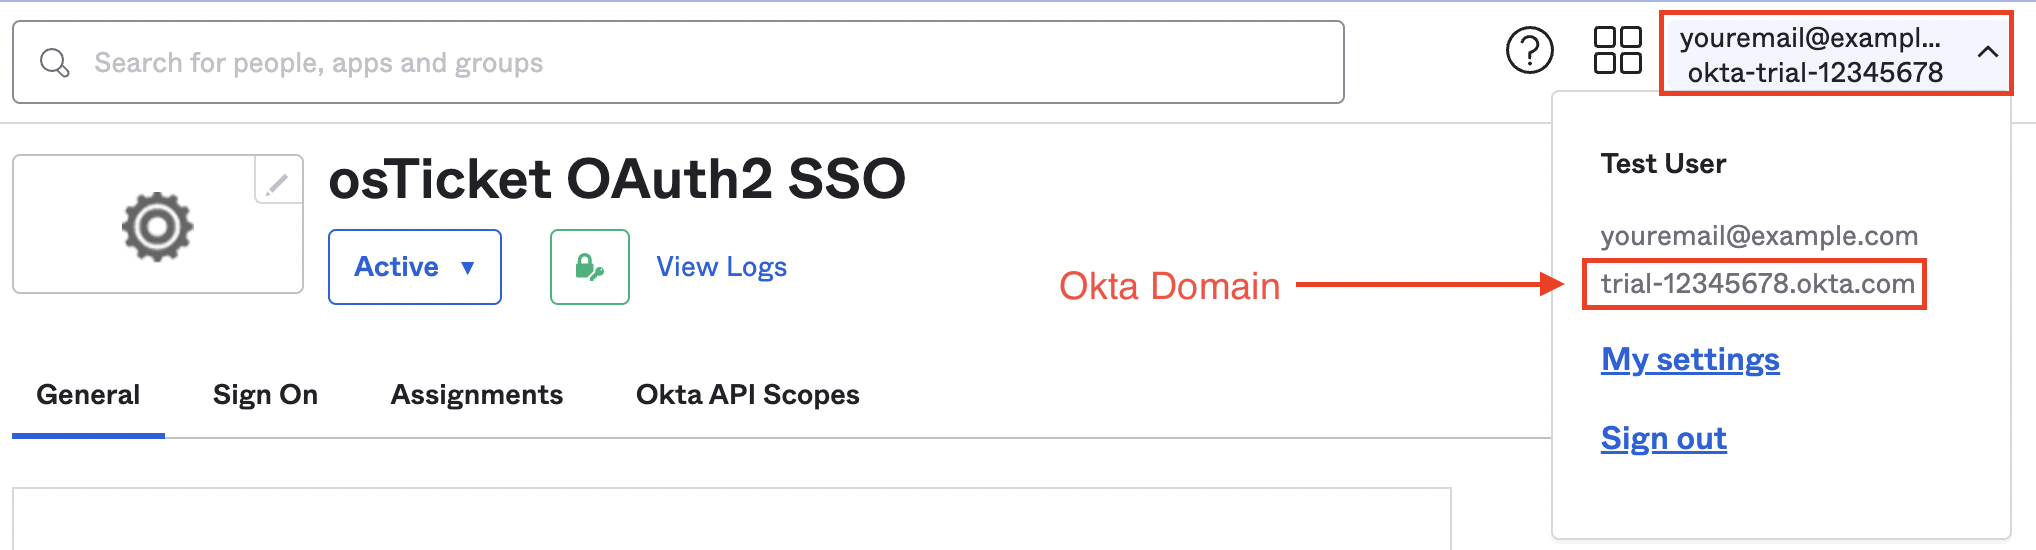
Once you add your Okta Domain to the three Endpoints, they should look something like the following:

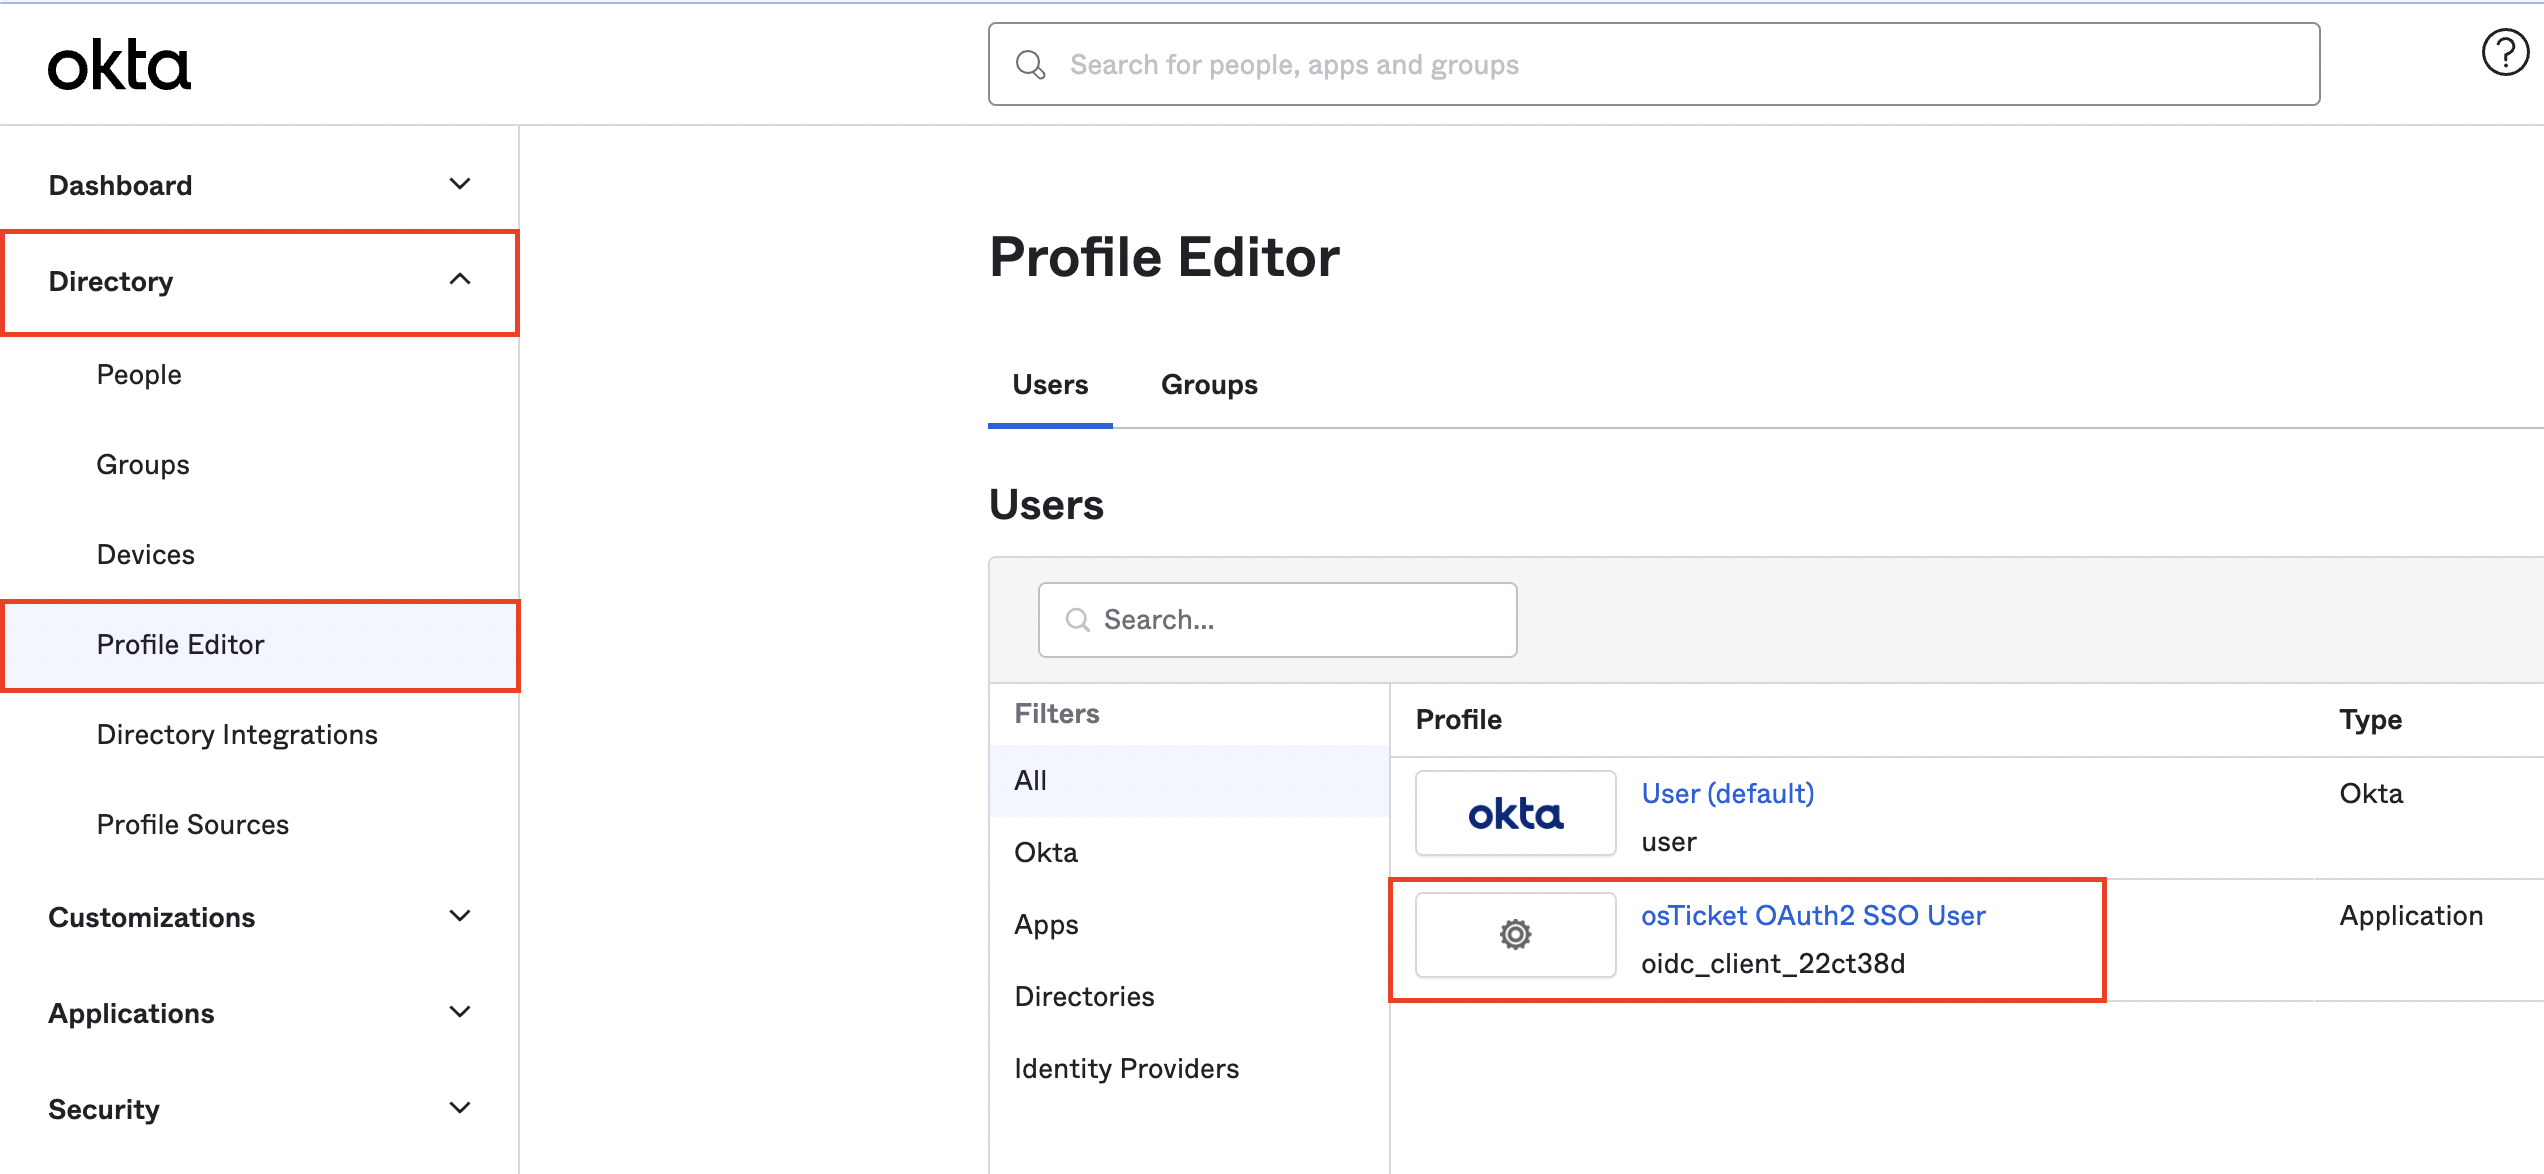
The last section to configure in the instance config is the User Attributes Mapping section. To review your current Okta Attributes go to the Okta Admin Console, expand the Directory section on the left side, click Profile Editor, click the Application for the helpdesk, and scroll down to the Attributes section.
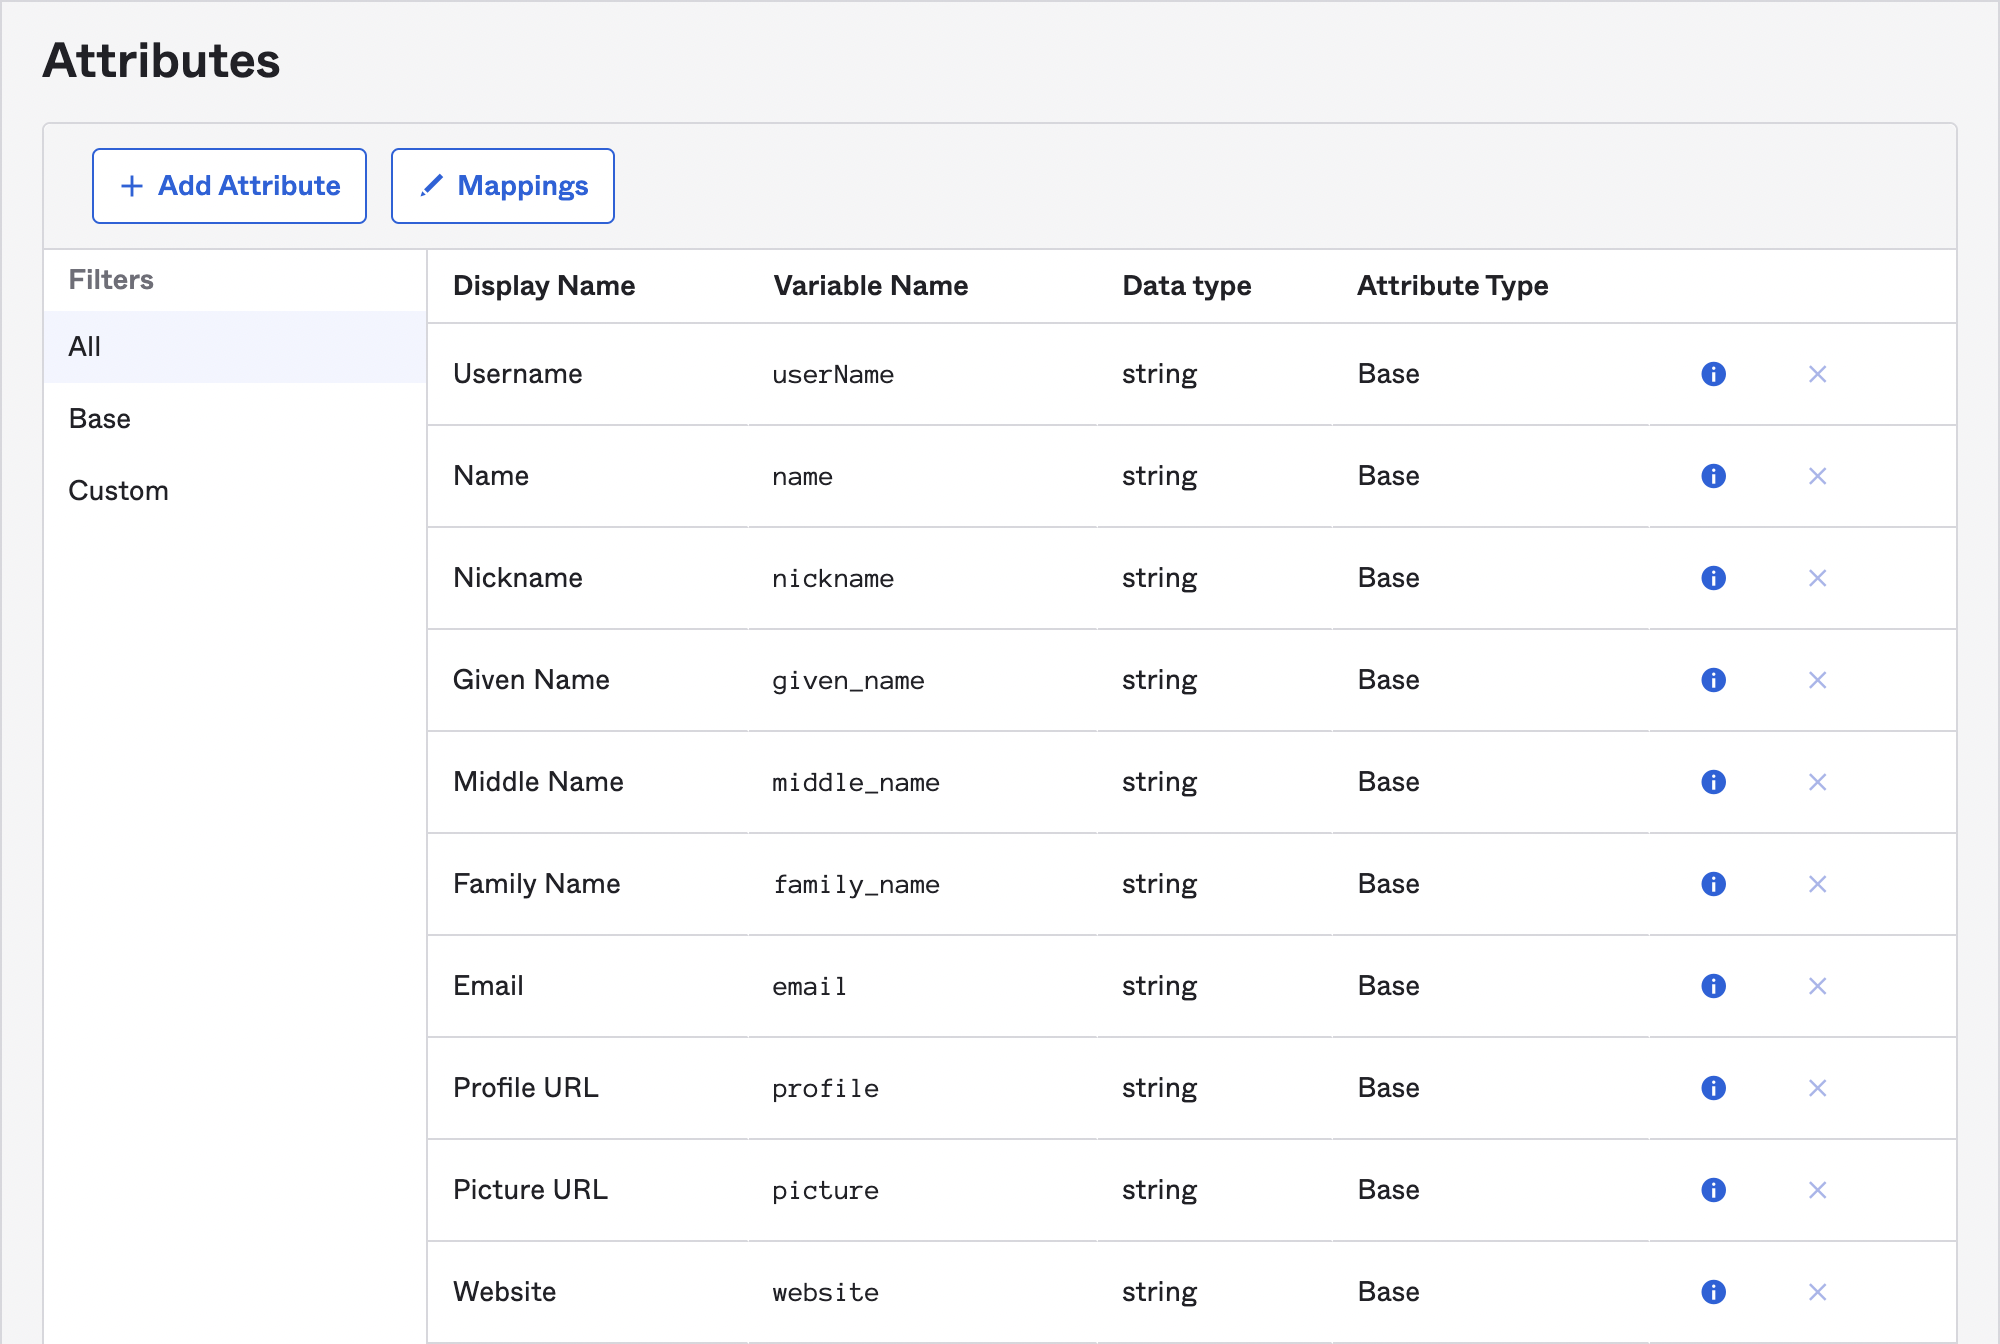
Here you will copy the ‘Variable Name’ value for each of the attributes needed for the helpdesk. So you will copy the Variable Name for Username (userName), Given Name (given_name), Family Name (family_name), and Email (email). Please note, the Variable Name values in your instance might be different than the ones shown in the screenshot above, depending on your setup and company policies.
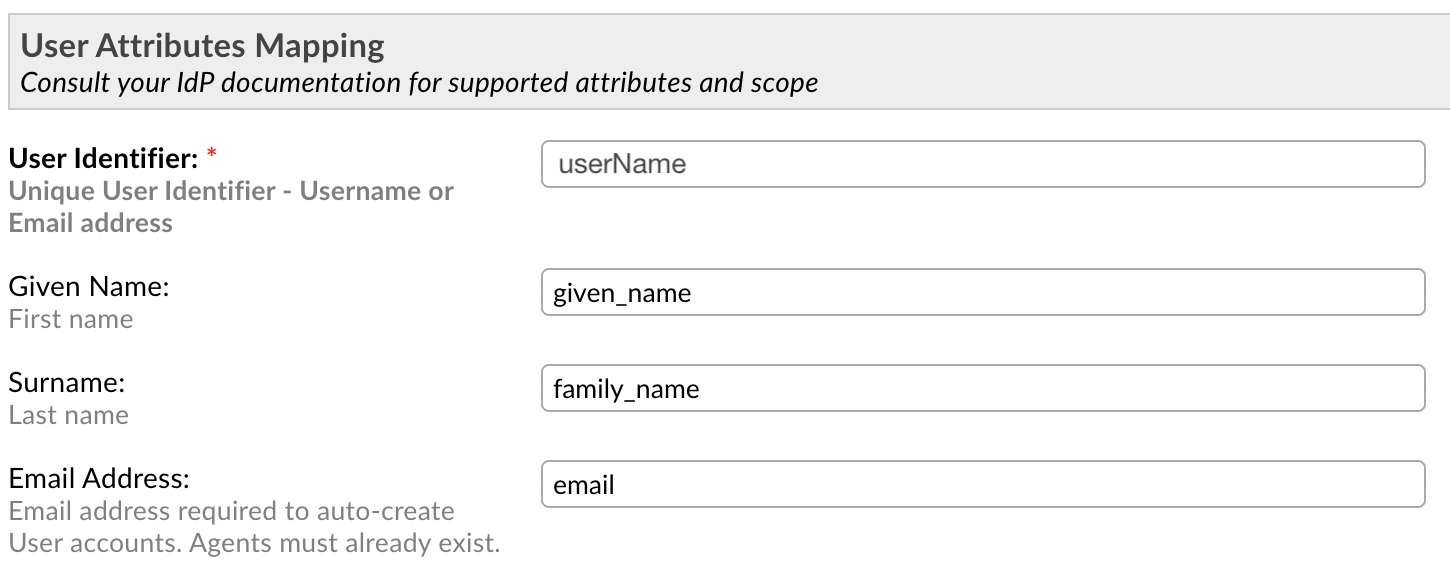
Once you’ve replaced the Attributes in the Plugin Instance config you are ready to add the instance. Click ‘Add Instance’
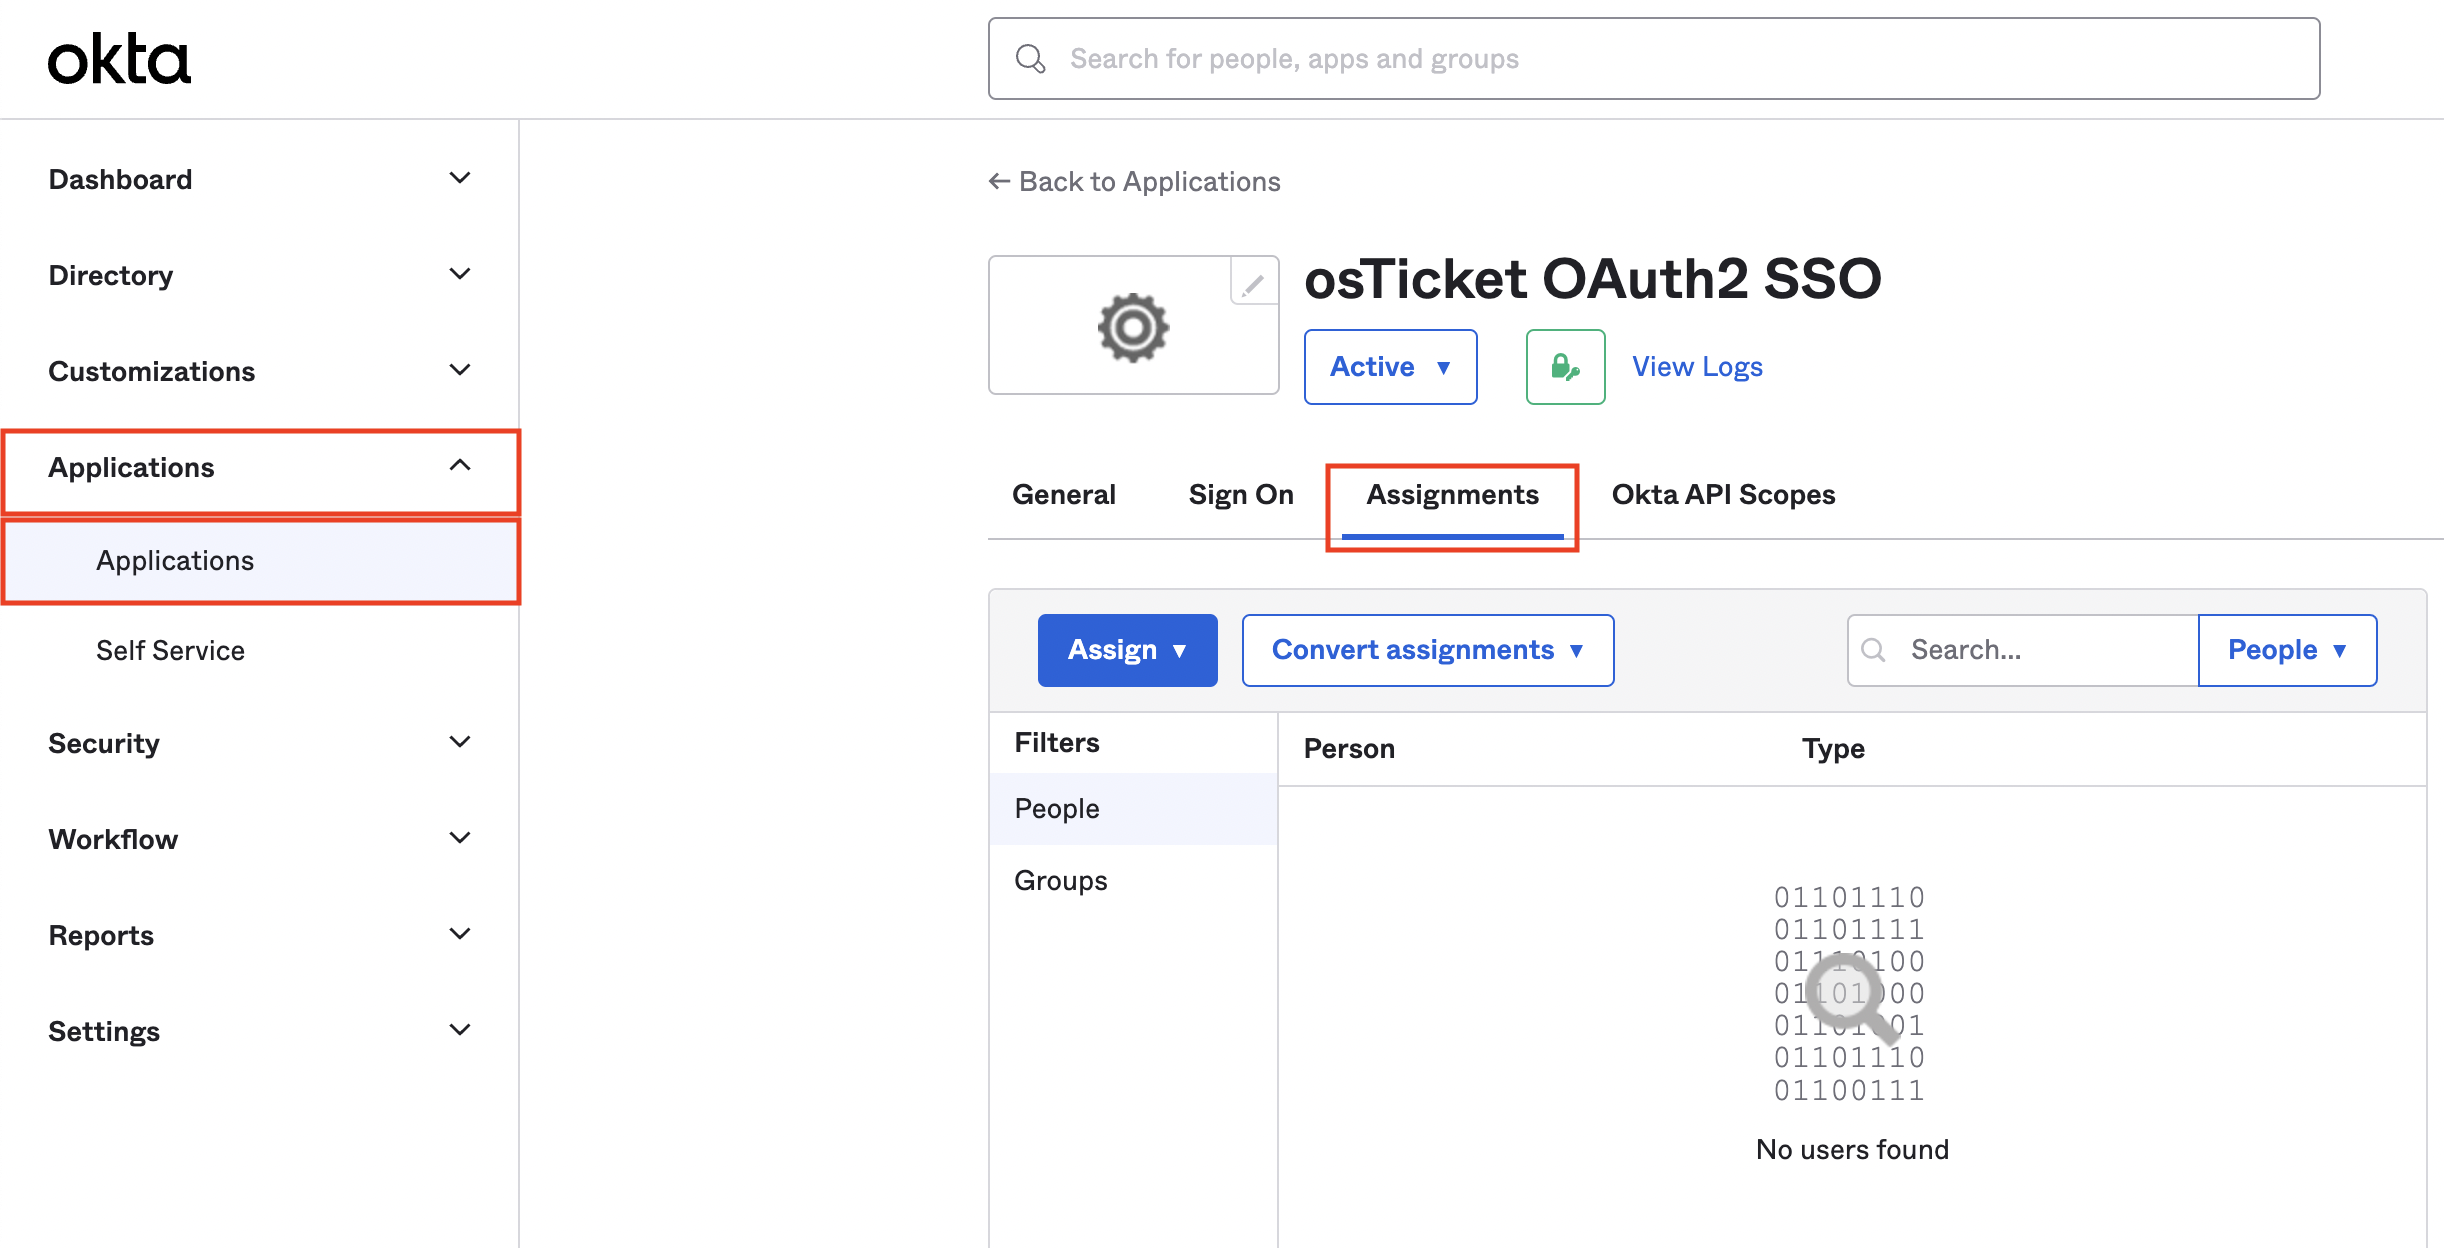
If you chose the ‘Skip group assignment for now’ option in the earlier steps the very last thing to configure within Okta is to Assign Users to the Application. Go to the Application in the Okta Admin Console and click Assignments.
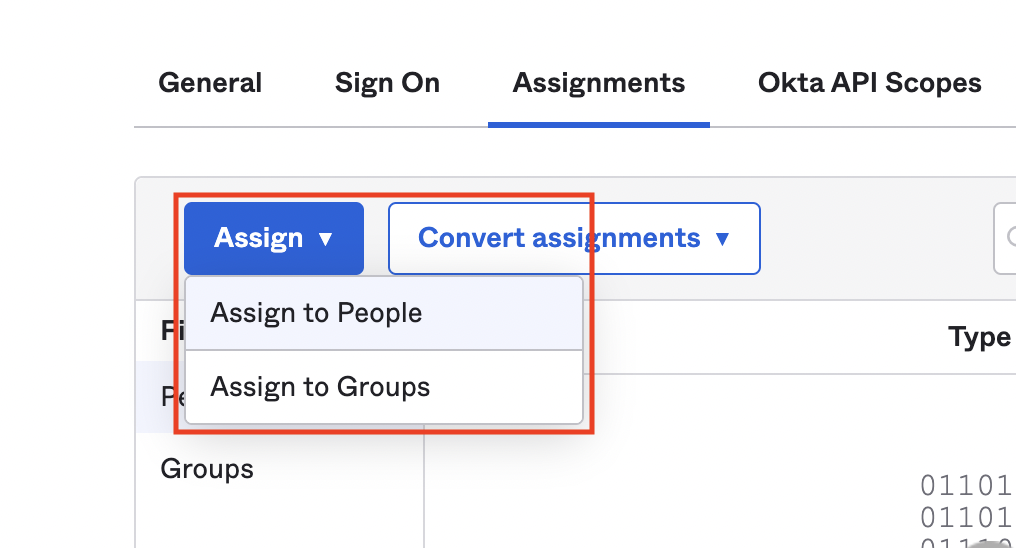
Here you will click ‘Assign’ then ‘Assign To People’ or ‘Assign To Groups’. Assign the relevant Users/Groups and click ‘Done’. Once Users/Groups are assigned they will be able to use Okta Authentication for the helpdesk.
Now that the setup is complete, you should be able to use your Okta account to log into the helpdesk.
Agent Login
To test the functionality for Agents, go to:
Admin Panel | Agents
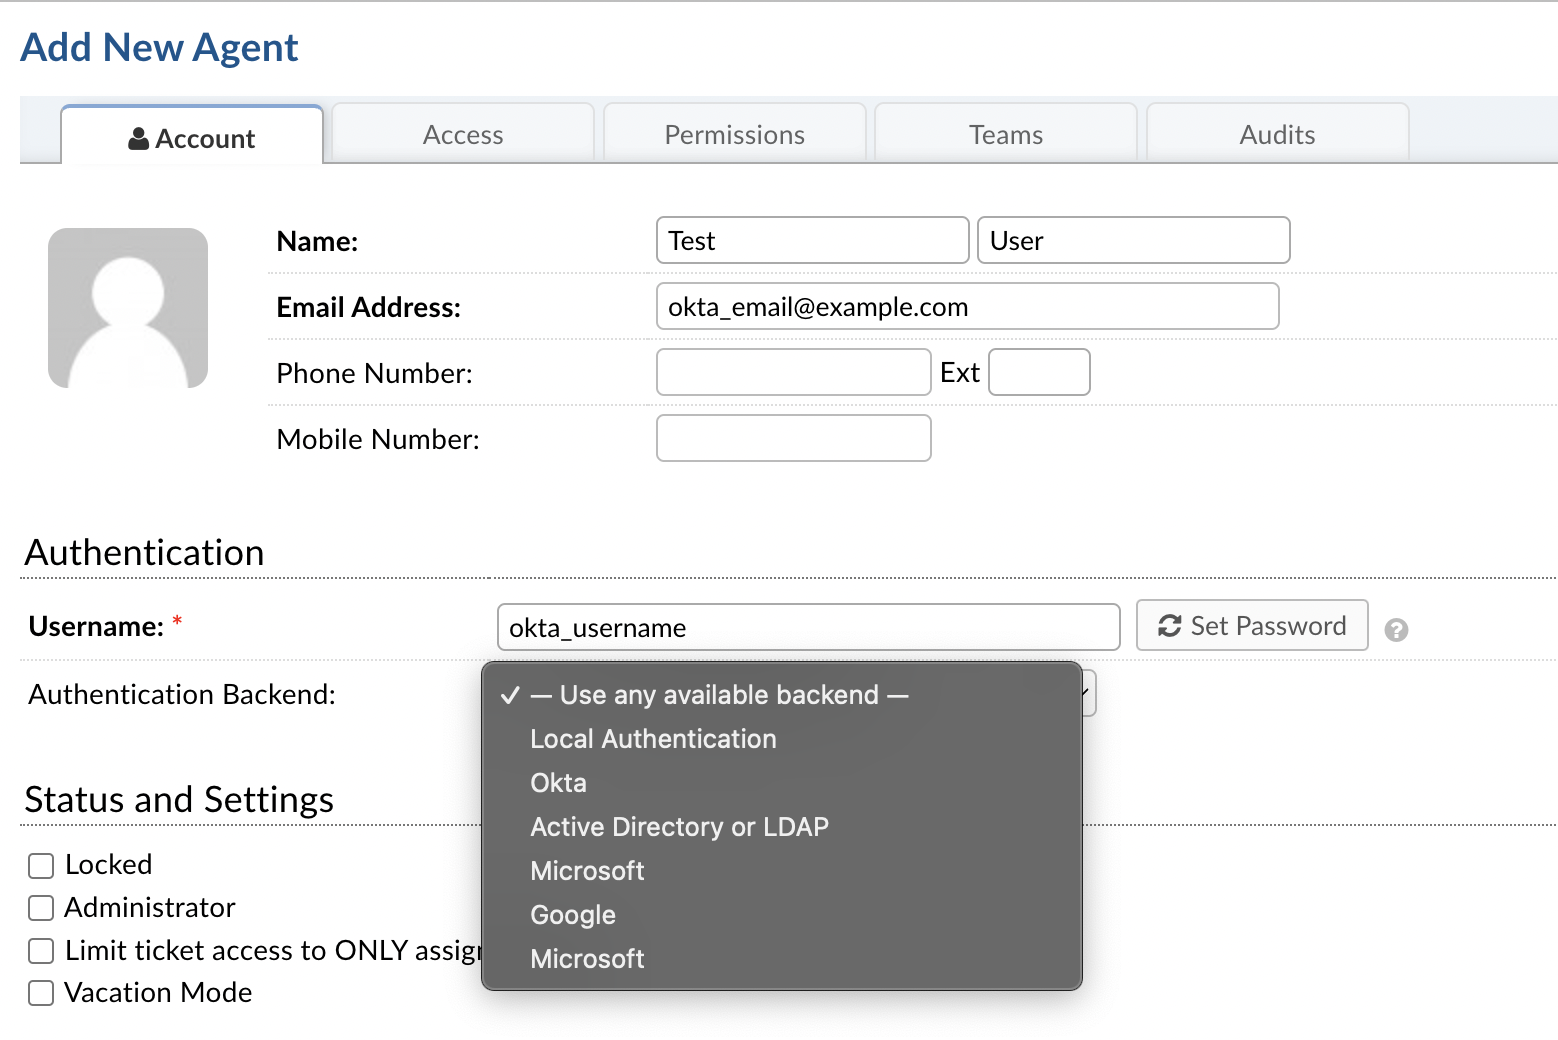
Make sure you have an Agent in your helpdesk with the same username or email address as the Okta account you want to log in with.
You should also ensure that you see the provider that was just set up in the list. It is important, however, to make sure you choose ‘Use any available backend’ so that you can still log into your helpdesk in the event that OAuth has an error.
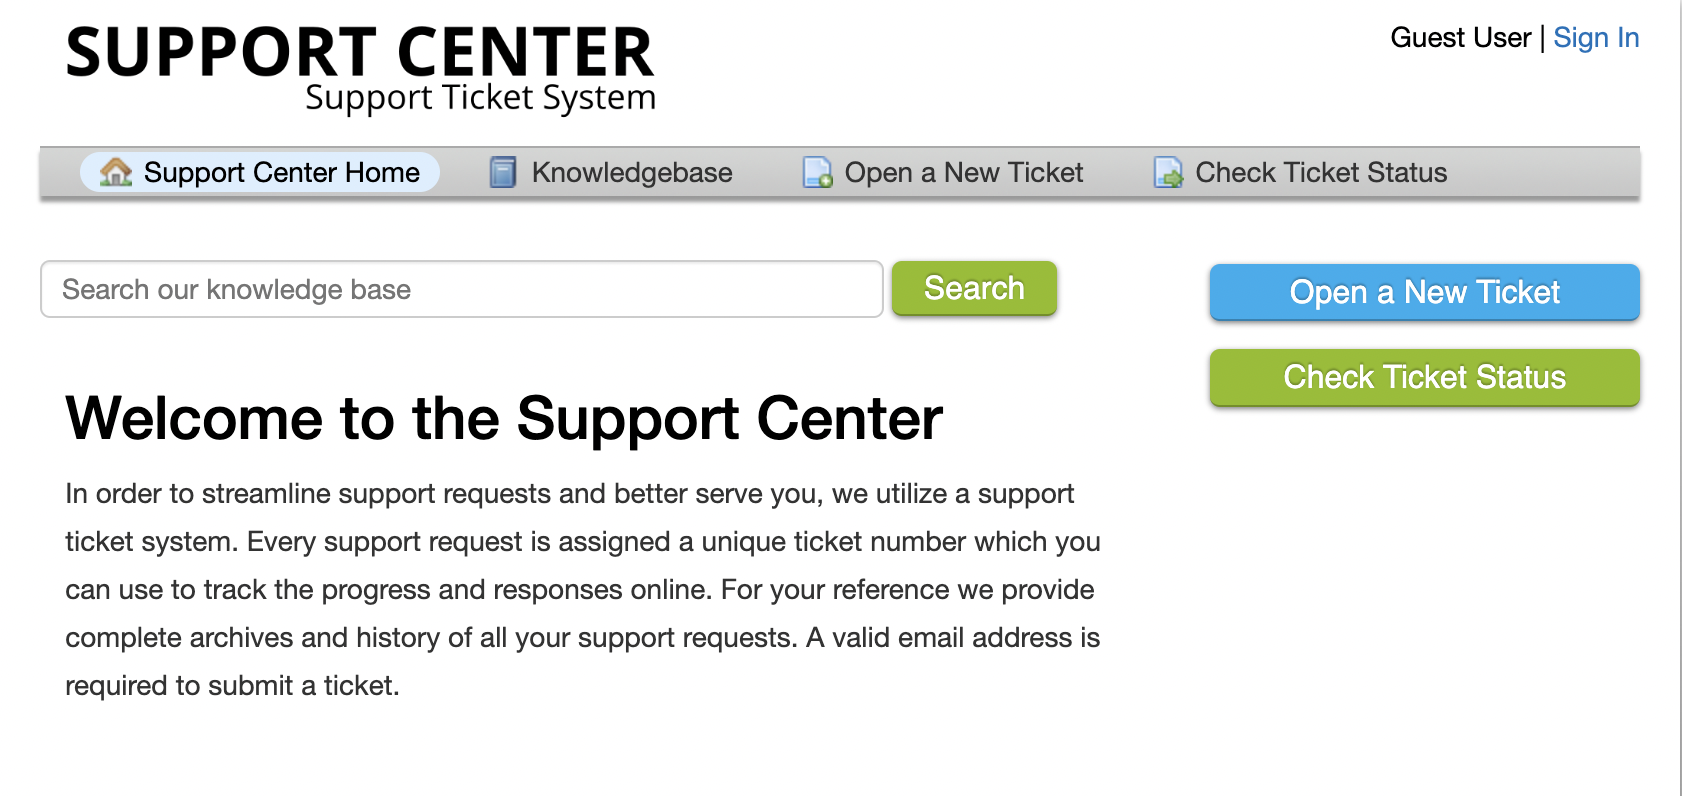
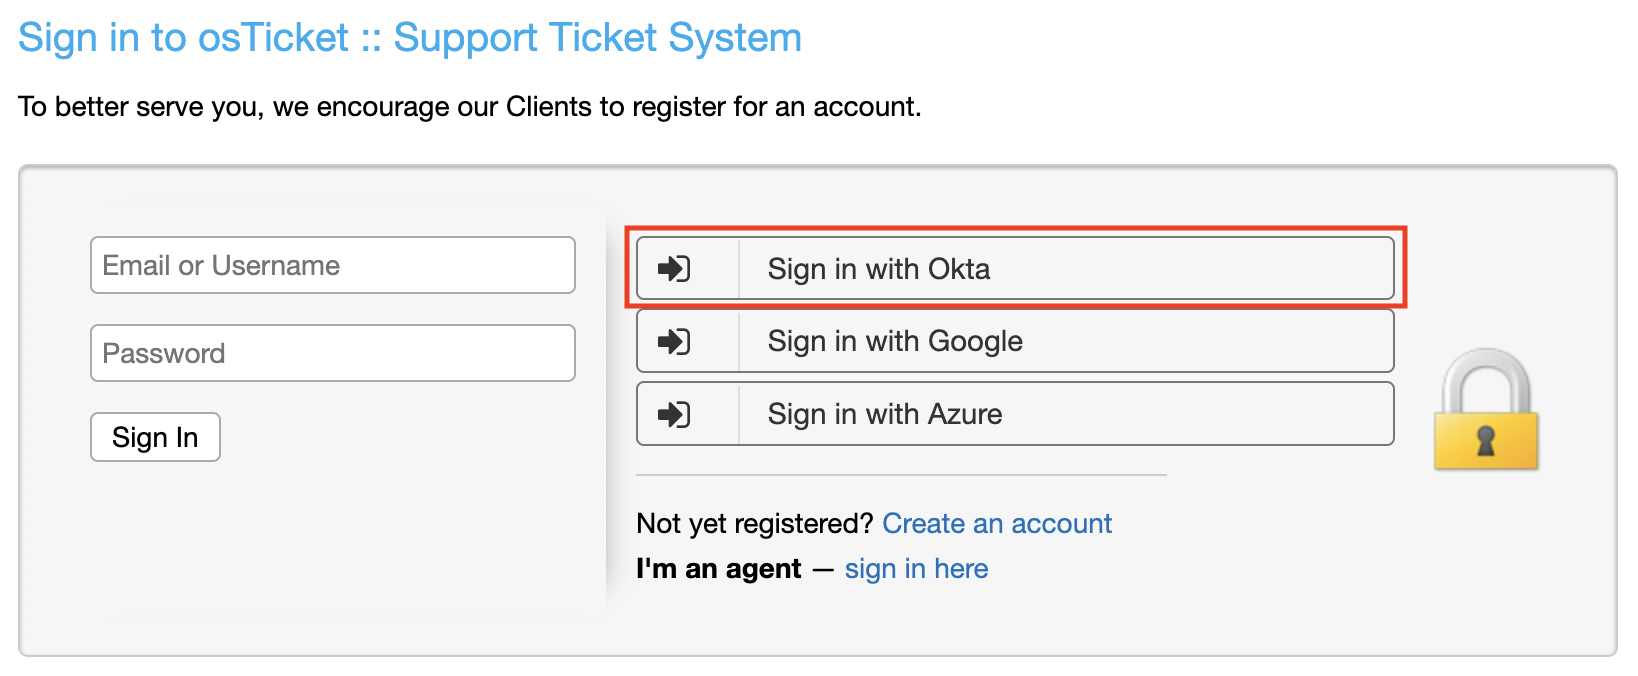
Log out of the helpdesk and go to the login screen.

Click the ‘Sign in with Okta’ button to test the OAuth set up.
Note: The sign in button text can be configured by changing the Authentication Label in the instance setup.
This should navigate to Okta and have you login to the account you want to sign into the helpdesk with:

Now you should be logged into your helpdesk.
User Login
For users, logging in with a Okta account should create a new User if one does not exist, otherwise, it will log in as an existing User.
This should also navigate to choose the Okta account you want to sign in with.
Choose your account and you should be logged in as a User.